1) SpringBoot
1-1) Web Page 예제2 추가 수정
1-2) 추가 정리 사항
1) SpringBoot
1-1) Web Page 예제2 추가 수정

(1) [src/main/resources] 안에 application.properties 파일 생성 후 아래와 같이 작성

(2) [src/main/java] - [net.datasa.web2] 안에 HomeController.java 파일 생성 후 아래와 같이 작성
package net.datasa.web2.controller;

import org.springframework.stereotype.Controller;
import org.springframework.ui.Model;
import org.springframework.web.bind.annotation.GetMapping;
import org.springframework.web.bind.annotation.ModelAttribute;
import org.springframework.web.bind.annotation.PostMapping;
import org.springframework.web.bind.annotation.RequestMapping;
import org.springframework.web.bind.annotation.RequestParam;

import lombok.extern.slf4j.Slf4j;
import net.datasa.web2.domain.Member;
import net.datasa.web2.domain.Person;

@Controller
@RequestMapping("param")
@Slf4j
public class ParamController {
	// http://localhost:8888/param/view1 경로의 요청 처리
	@GetMapping("view1")
	public String view1() {
		// templates/paramView/view1.html 파일로 포워딩
		return "paramView/view1";
	}

	@GetMapping("input1")
	public String input1(
			@RequestParam(name="id", defaultValue="") String id,
			@RequestParam("pw") String pw,
			@RequestParam("name") String name,
			@RequestParam("phone") String phone,
			@RequestParam("com") String com
			) {
		log.debug("id: {}, pw: {}, name: {}", id, pw, name);

		return "redirect:/";
	}

	@GetMapping("view2")
	public String view2() {
		// templates/paramView/view2.html 파일로 포워딩
		return "paramView/view2";
	}

	@PostMapping("input2")
	public String input2(@ModelAttribute Member m) {
		/*
			Member m = new Member();
			m.setId(request.getParameter("id"));
		*/

		log.debug("객체값: {}", m);

		return "redirect:/";
	}

	@GetMapping("model")
	public String model(Model model) {
		String str = "서버의 문자열";
		int num = 100;
		Person p = new Person("김", 22, "010-1111-1111");

		model.addAttribute("str", str);
		model.addAttribute("n", num);
		model.addAttribute("person", p);

		return "paramView/model";
	}
}
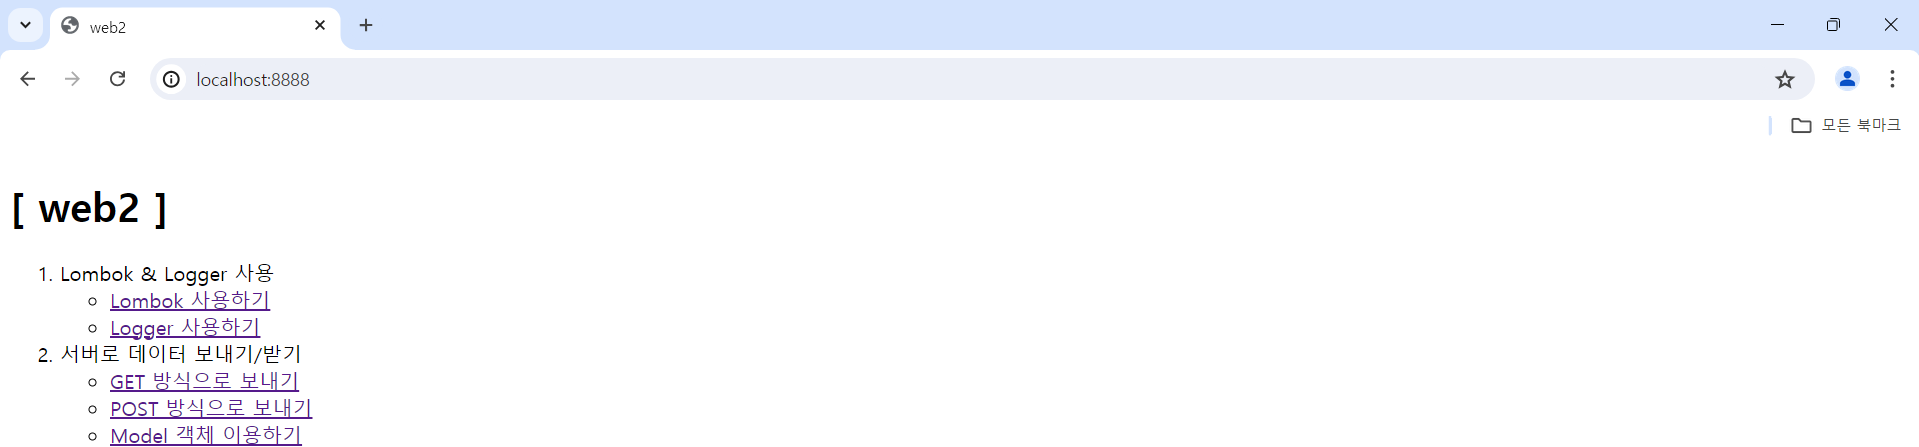
(3) [src/main/resources] - [templates] 안에 home.html 파일 생성 후 아래와 같이 작성
<!DOCTYPE html>
<html>
<head>
<meta charset="UTF-8">
<title>web2</title>
</head>
<body>
	<h1>[ web2 ]</h1>
	<ol>
		<li>Lombok & Logger 사용
			<ul>
				<li>
					<a href="lom/lombok">Lombok 사용하기</a>
				</li>
				<li>
					<a href="lom/logger">Logger 사용하기</a>
				</li>
				<!--
				여기는 메인화면입니다. 위의 l은 소문자 L입니다.
				글꼴 때문에 꼬부라져 보이는 것입니다.
				-->
			</ul>
		</li>
		<li>서버로 데이터 보내기/받기
			<ul>
				<li>
					<a href="param/view1">GET 방식으로 보내기</a>
				</li>
				<li>
					<a href="param/view2">POST 방식으로 보내기</a>
				</li>
				<li>
					<a href="param/model">Model 객체 이용하기</a>
				</li>
				<li>
					<a href="ex/calc1">입력 폼 계산 및 결과 출력하기</a>
				</li>
			</ul>
		</li>
	</ol>
</body>
</html>
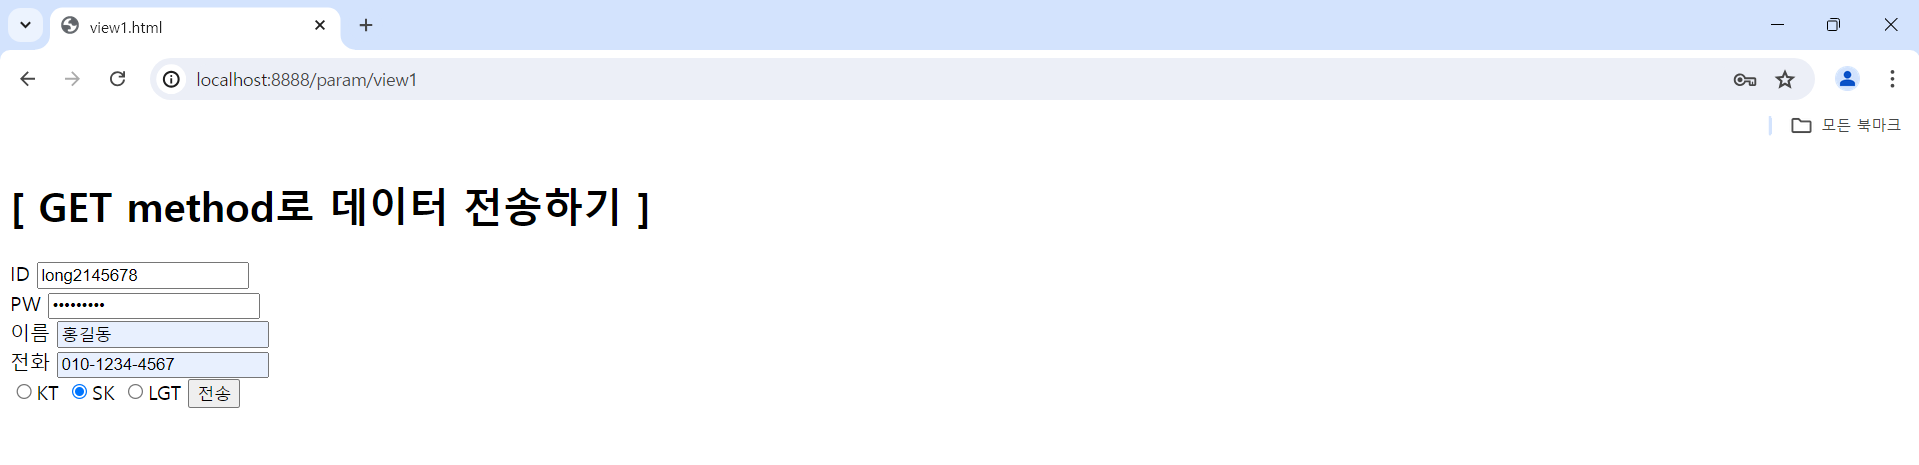
(4) [src/main/resources] - [templates.paramView] 안에 view1.html 파일 생성 후 아래와 같이 작성
<!DOCTYPE html>
<html>
<head>
<meta charset="UTF-8">
<title>view1.html</title>
<script>
	function check() {
		let id = document.getElementById("id");
		let pw = document.getElementById("pw");
		let name = document.getElementById("name");

		if (id.value.trim().length == 0) {
			alert("ID를 입력하세요.");
			id.focus();
			id.select();
			return false;
		} else if (id.value.trim().length < 8) {
			alert("ID를 8자 이상 입력하세요.");
			id.focus();
			id.select();
			return false;
		}
		if (pw.value.trim().length == 0) {
			alert("비밀번호를 입력하세요.");
			pw.focus();
			pw.select();
			return false;
		} else if (pw.value.trim().length < 9) {
			alert("비밀번호를 9자 이상 입력하세요.");
			pw.focus();
			pw.select();
			return false;
		}
		if (name.value.trim().length == 0) {
			alert("Name을 입력하세요.");
			name.focus();
			name.select();
			return false;
		}

		return true;
	}
</script>
</head>
<body>
	<h1>[ GET method로 데이터 전송하기 ]</h1>
	<!-- http://localhost:8888/param/input1로 전송 -->
	<form action="input1" method="get" onsubmit="return check()">
		ID <input type="text" name="id" id="id"><br>
		PW <input type="password" name="pw" id="pw"><br>
		이름 <input type="text" name="name" id="name"><br>
		전화 <input type="text" name="phone" id="phone"><br>
			<input type="radio" name="com" value="kt" checked>KT
			<input type="radio" name="com" value="sk">SK
			<input type="radio" name="com" value="lg">LGT
		<input type="submit" value="전송"><br>
	</form>
</body>
</html>
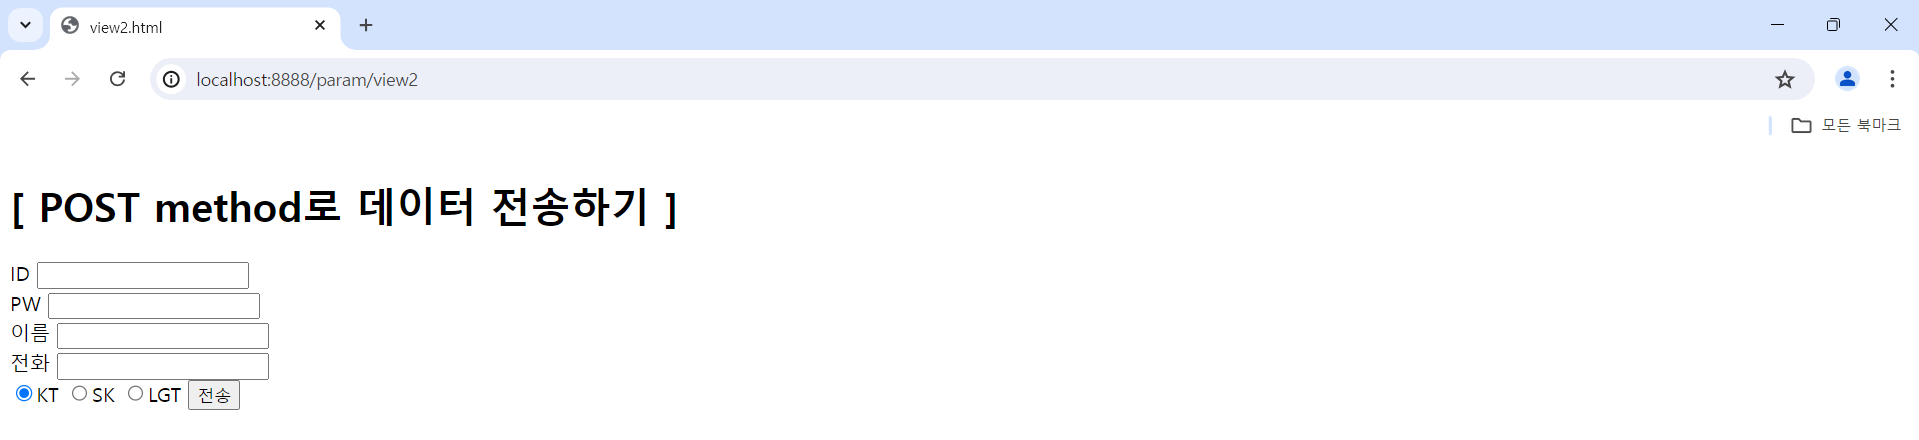
(5) [src/main/resources] - [templates.paramView] 안에 view2.html 파일 생성 후 아래와 같이 작성
<!DOCTYPE html>
<html>
<head>
<meta charset="UTF-8">
<title>view2.html</title>
<script>
	function check() {
		let id = document.getElementById("id");
		let pw = document.getElementById("pw");
		let name = document.getElementById("name");

		if (id.value.trim().length == 0) {
			alert("ID를 입력하세요.");
			id.focus();
			id.select();
			return false;
		} else if (id.value.trim().length < 8) {
			alert("ID를 8자 이상 입력하세요.");
			id.focus();
			id.select();
			return false;
		}
		if (pw.value.trim().length == 0) {
			alert("비밀번호를 입력하세요.");
			pw.focus();
			pw.select();
			return false;
		} else if (pw.value.trim().length < 9) {
			alert("비밀번호를 9자 이상 입력하세요.");
			pw.focus();
			pw.select();
			return false;
		}
		if (name.value.trim().length == 0) {
			alert("Name을 입력하세요.");
			name.focus();
			name.select();
			return false;
		}

		return true;
	}
</script>
</head>
<body>
	<h1>[ POST method로 데이터 전송하기 ]</h1>
	<!-- http://localhost:8888/param/input1로 전송 -->
	<form action="input2" method="post" onsubmit="return check()">
		ID <input type="text" name="id" id="id"><br>
		PW <input type="password" name="pw" id="pw"><br>
		이름 <input type="text" name="name" id="name"><br>
		전화 <input type="text" name="phone" id="phone"><br>
			<input type="radio" name="com" value="kt" checked>KT
			<input type="radio" name="com" value="sk">SK
			<input type="radio" name="com" value="lg">LGT
		<input type="submit" value="전송"><br>
	</form>
</body>
</html>
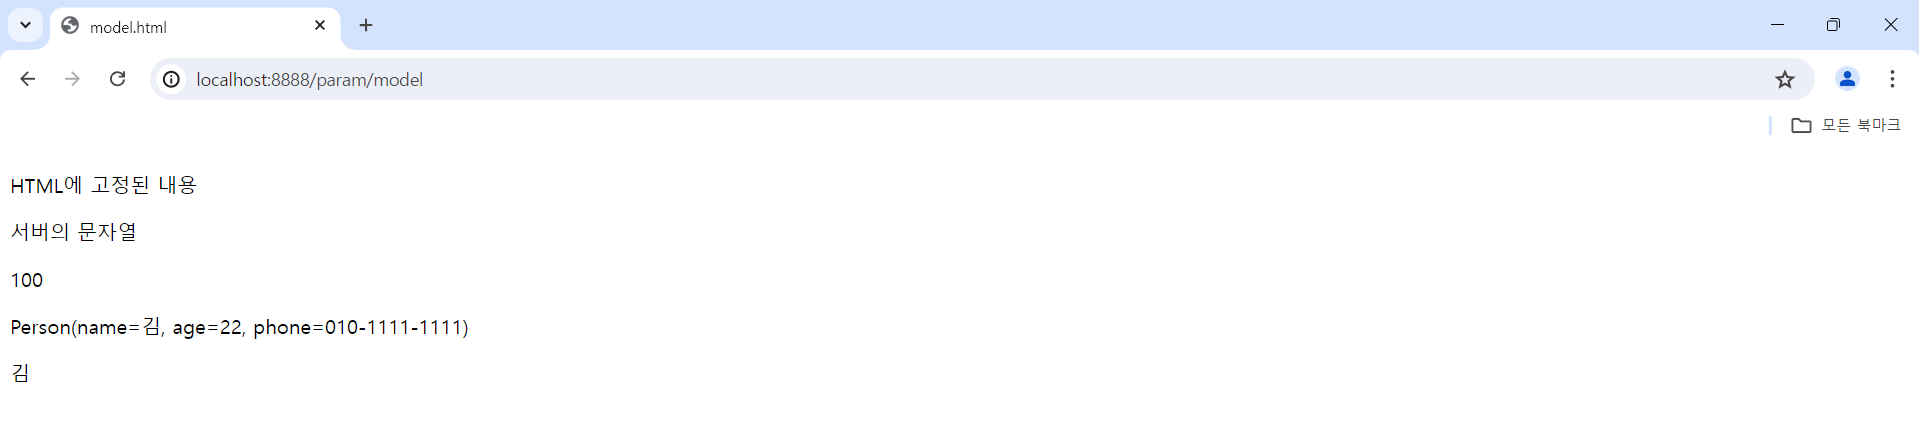
(6) [src/main/resources] - [templates.paramView] 안에 model.html 파일 생성 후 아래와 같이 작성
<!DOCTYPE html>
<html>
<head>
<meta charset="UTF-8">
<title>model.html</title>
</head>
<body>
	<!-- HTML 주석 -->
	<!--/* 타임리프 주석 */-->
	<p>HTML에 고정된 내용</p>
	<p>[[${str}]]</p>
	<p>[[${s}]]</p>
	<!--/* <p>[[${s.length()}]]</p> */-->
	<p>[[${n}]]</p>
	<p>[[${person}]]</p>
	<p>[[${person.name}]]</p>
</body>
</html>
(7) 결과 페이지 화면


1-2) 추가 정리 사항
“Controller”는 필요한 값을 “Service”한테 구해오라고 요청을 한다!
<!--/* 타임리프 주석 */-->
>> 타임리프 주석 : Java 프로그램에서 Compile하는 과정에서
주석 처리된 내용(ex. //abc)을 자동으로 먼저 지워주고
코드를 실행하는데 타임리프 주석 역시 Java 프로그램의 Compile 과정에서
자동으로 지워주고 해당 코드들을 실행해주기에
타임리프 주석 내용들은 “페이지 소스 코드”에 남지 않는다고 보면 된다!
“[[${str}]]”는 태그 내용으로 “[[]]” 안에 해당 내용(“str”)을 넣어준다는 뜻으로
사용하는 코드이다!
'SpringBoot' 카테고리의 다른 글
| SpringBoot(7) - Session 예제(login, logout, login 시 메뉴) (0) | 2024.06.28 |
|---|---|
| SpringBoot(6) - 계산기 예제(Version 2개), Session (0) | 2024.06.27 |
| SpringBoot(4) - Web Page 예제2, 추가 정리 사항 (0) | 2024.06.26 |
| SpringBoot(3) - 간단한 Web Page 예제, 추가 정리 사항 (0) | 2024.06.24 |
| SpringBoot(2) - 새 프로젝트 생성(복습), 실습, 추가 정리 (0) | 2024.06.21 |


