1) Javascript
1-1) HTML DOM 이벤트
1-2) HTML BOM
1-3) 예제(배경색 변경 / 글자수 표기)
1) Javascript
1-1) HTML DOM 이벤트
13.HTML DOM 이벤트.html
<!DOCTYPE html>
<html lang="en">
<head>
<meta charset="UTF-8" />
<meta name="viewport" content="width=device-width, initial-scale=1.0" />
<title>event</title>
<script>
function upperCase() {
// value 속성값이 변하면 onchange 이벤트가 발생한 것으로 보면 됨!
console.log("onchange");
let inputTag = document.querySelector("#fname");
inputTag.value = inputTag.value.toUpperCase();
}
function focusOn() {
// 대상이 되는 요소에 커서를 두면 onfocus 이벤트가 발생한 것으로 보면 됨!
console.log("onfocus");
document.querySelector("#fname").style.backgroundColor = "red";
}
function focusOut() {
// 대상이 되는 요소에서 커서가 사라지면 onfocusout 이벤트가 발생한 것으로 보면 됨!
console.log("onfocusout");
document.querySelector("#fname").style.backgroundColor = "white";
}
function btnClick() {
// alert("aaaaa"); --> 함수 정상 동작여부 확인용
document.querySelector("#fname").value = "";
}
function changeRed() {
document.querySelector("#mouse").style.color = "red";
}
function changeBlue() {
let div = document.querySelector("#mouse");
div.style.color = "blue";
}
let i = 0; // 전역변수
function changeImg() {
let file = ["htmlLogo.png", "cssLogo.png", "jqueryLogo.png"];
// 1. element 가져오기
let image = document.querySelector("#img");
// 2. 해당 element의 src 속성에 파일이름까지의 경로값 변경
// 3. 클릭마다 이미지가 변경, 첫번째 이미지 > 두번째 이미지 > 세번째 이미지 > 첫번째 이미지
if (i >= file.length) {
i = 0;
}
image.src = "../HTML/1.image/file/" + file[i];
i++;
}
</script>
</head>
<body>
<label for="fname">이름 입력: </label>
<input
type="text"
name="fname"
id="fname"
onchange="upperCase()"
onfocus="focusOn()"
onfocusout="focusOut()"
/>
<input type="button" value="초기화" onclick="btnClick()" />
<br />
<br />
<div
id="mouse"
onmouseover="changeRed()"
onmouseout="changeBlue()"
style="font-size: x-large"
>
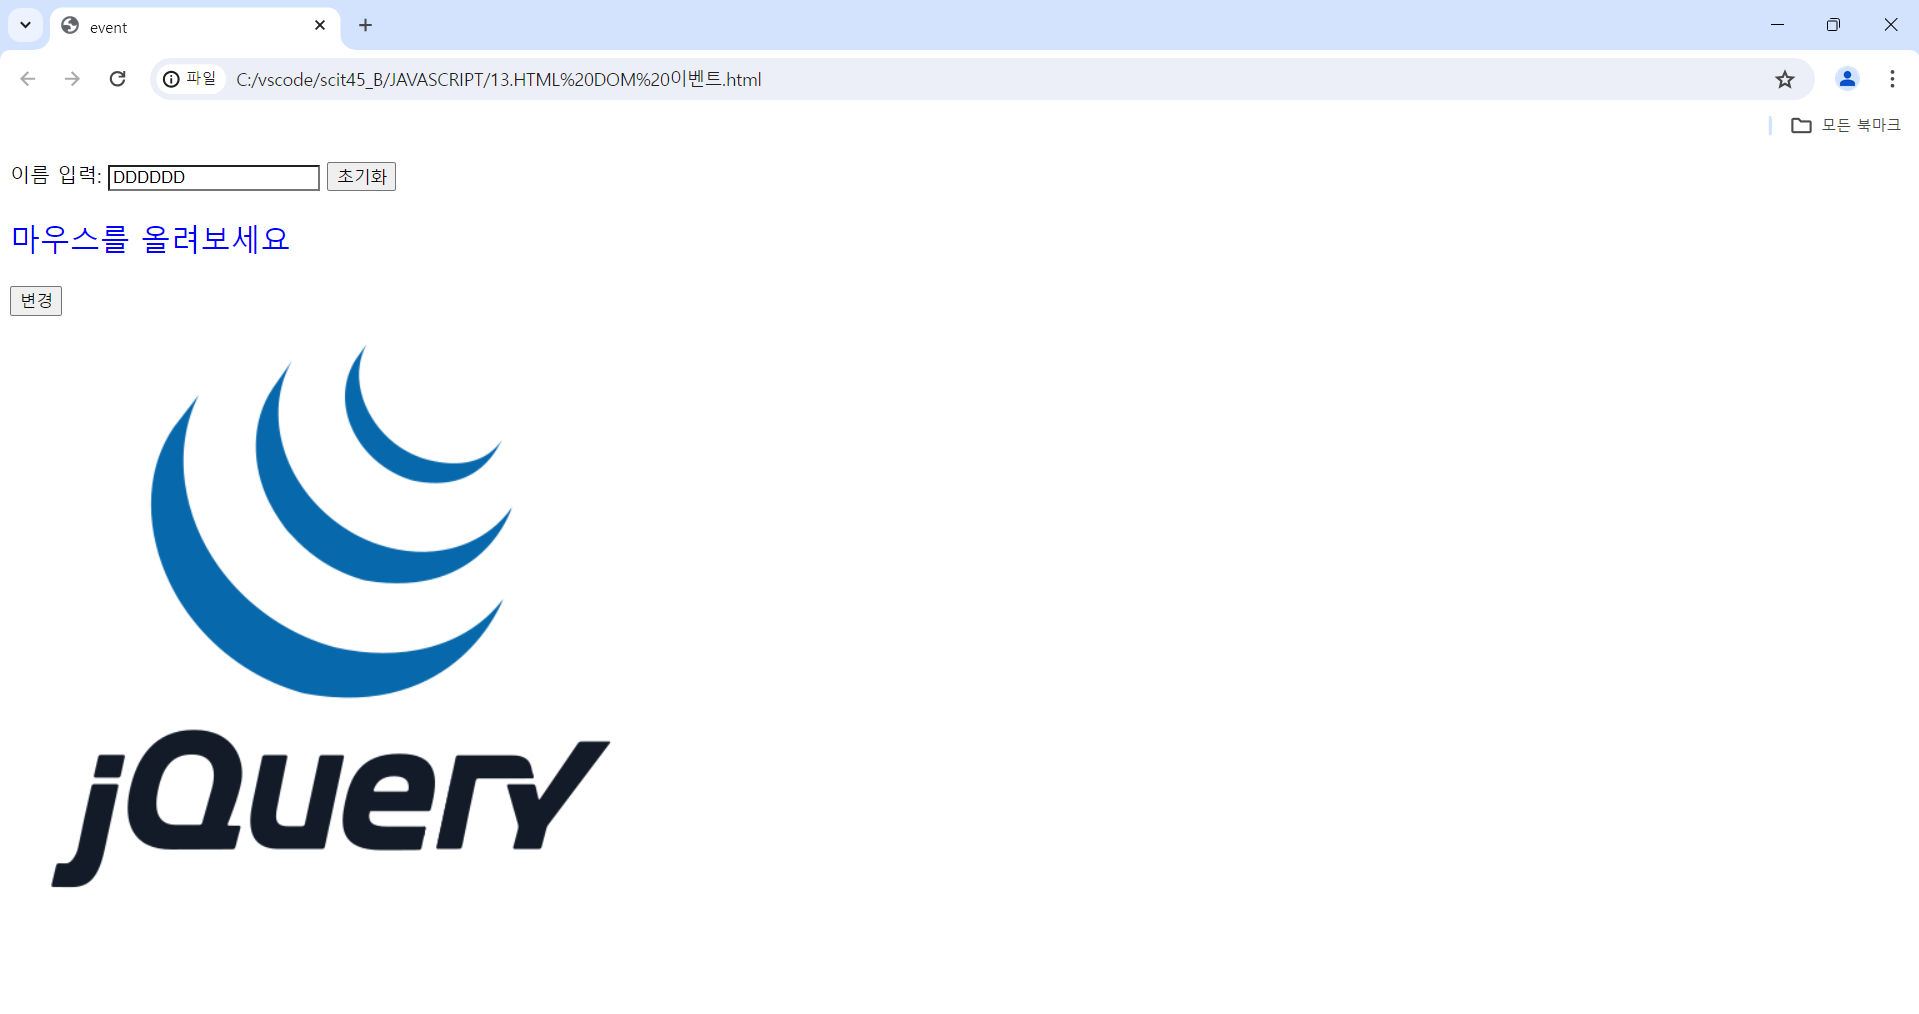
마우스를 올려보세요
</div>
<br />
<input type="button" value="변경" onclick="changeImg()" />
<br />
<img src="../HTML/1.image/file/javascriptLogo.png" id="img" />
</body>
</html>

※ onfocus 이벤트


※ onchange 이벤트 & onfocusout 이벤트

※ onmouseover 이벤트

※ onmouseout 이벤트

※ 변경 버튼을 통한 이미지 변경( 첫번째 이미지 >> 두번째 이미지 >> 세번째 이미지 >> 첫번째 이미지 )


1-2) HTML BOM
14.HTML BOM.html
<!DOCTYPE html>
<html lang="en">
<head>
<meta charset="UTF-8" />
<meta name="viewport" content="width=device-width, initial-scale=1.0" />
<title>Browser Object Model</title>
<script>
/*
BOM : Browser Object Model
1. window
2. screen
3. location
4. navigator
5. alert(alert, confirm, prompt)
6. history
*/
function closeWindow() {
window.close();
}
function openWindow() {
// window.open("https://www.naver.com");
let w = screen.width / 2;
let h = screen.height / 2;
let t = screen.height / 4;
let l = screen.width / 4;
let win = window.open(
"https://www.naver.com",
"_blank",
"top=" + t + ", left=" + l + ", width=" + w + ", height=" + h
);
}
function screenInfo() {
let x = screen.width;
let y = screen.height;
alert(x + " * " + y);
}
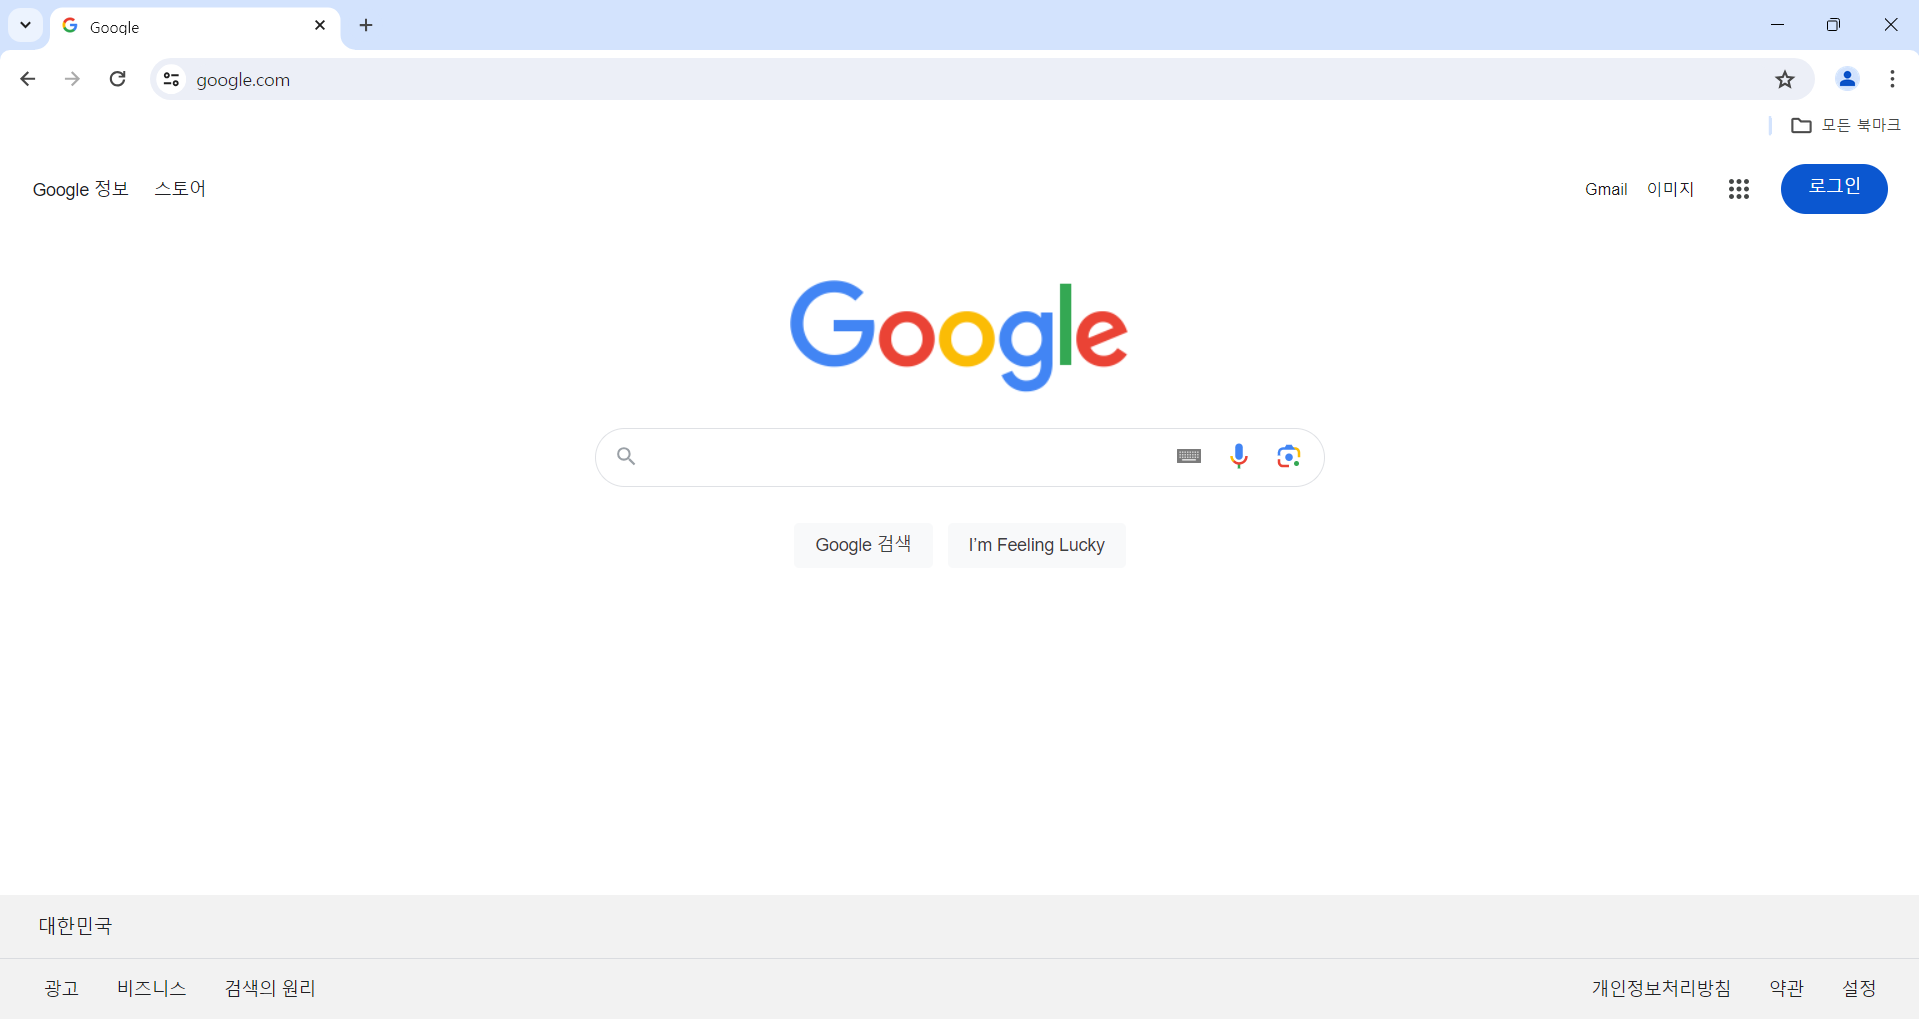
function locationHref() {
location.href = "https://google.com";
}
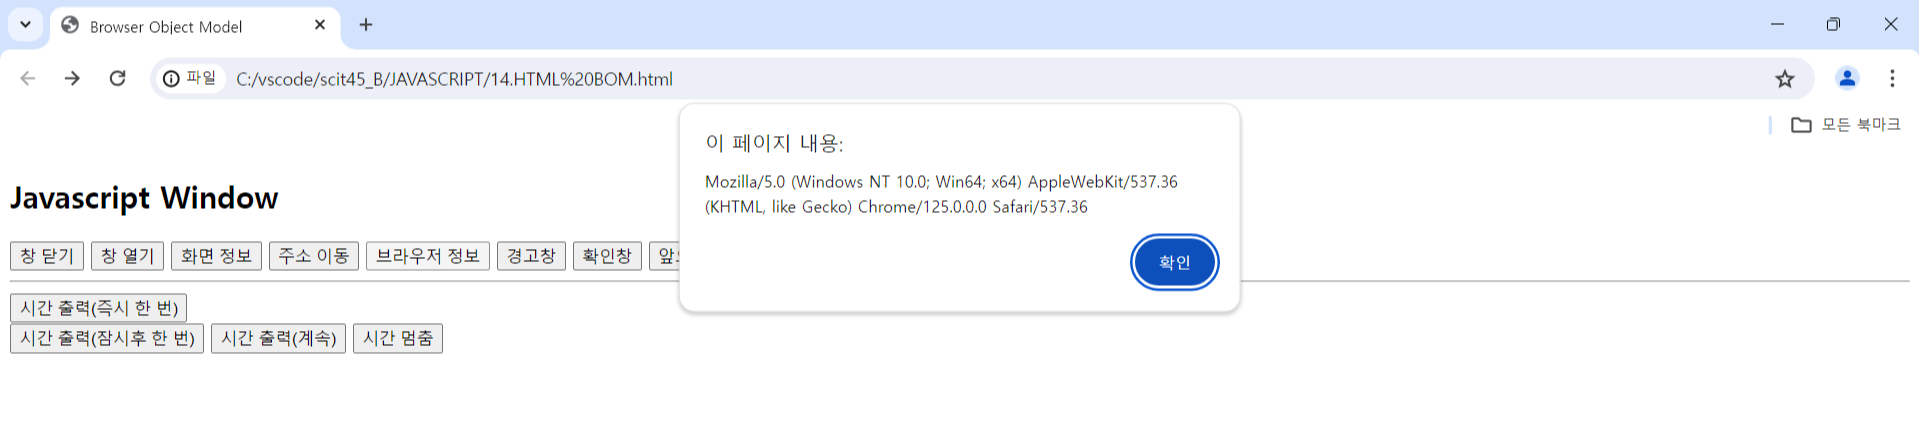
function navigatorInfo() {
alert(navigator.userAgent);
}
function alertWindow() {
alert("주의 주의!!");
}
function confirmWindow() {
let result = confirm("정말 삭제하시겠습니까?");
alert(result);
}
function goForward() {
window.history.forward();
// "history.forward();"라고 코드를 작성해도 위와 동일한 기능을 수행함!
// 이유 : window가 전역객체이므로 생략이 가능하기 때문이다!
}
function goBack() {
history.back();
}
function output1() {
let d = new Date();
let str = "";
let year = d.getFullYear();
let month = d.getMonth() + 1;
let date = d.getDate();
let arr = ["일", "월", "화", "수", "목", "금", "토"];
let day = arr[d.getDay()];
let hour = d.getHours();
let min = d.getMinutes();
let sec = d.getSeconds();
str += `${year}년 ${month}월 ${date}일`;
str += `${day}요일 `;
str += `${hour}시 ${min}분 ${sec}초`;
let div = document.querySelector("#time");
div.innerHTML = str;
}
function output2() {
// 콜백함수
// 다른 함수의 인수로 전달되어 나중에 호출되는 함수
// setTimeout()
// 지정한 시간이 지난 후에 한 번 콜백함수를 실행
setTimeout(function () {
let d = new Date();
alert(d.toLocaleString());
}, 3000); // setTimeout 함수의 인수 : 함수(여기선 익명함수이자 콜백함수이다!), 시간(milliseconds)
}
let timer; // 전역변수
function timeStart() {
// setInterval() : 지정한 시간 간격마다 콜백함수를 반복 실행함
timer = setInterval(function () {
let d = new Date();
let hour = d.getHours();
let min = d.getMinutes();
let sec = d.getSeconds();
let str = "";
str += `${hour < 10 ? `0${hour}` : hour}`;
str += ` : ${min < 10 ? `0${min}` : min}`;
str += ` : ${sec < 10 ? `0${sec}` : sec}`;
document.querySelector("#time2").innerHTML = str;
}, 1000);
}
function timeStop() {
clearInterval(timer);
}
</script>
</head>
<body>
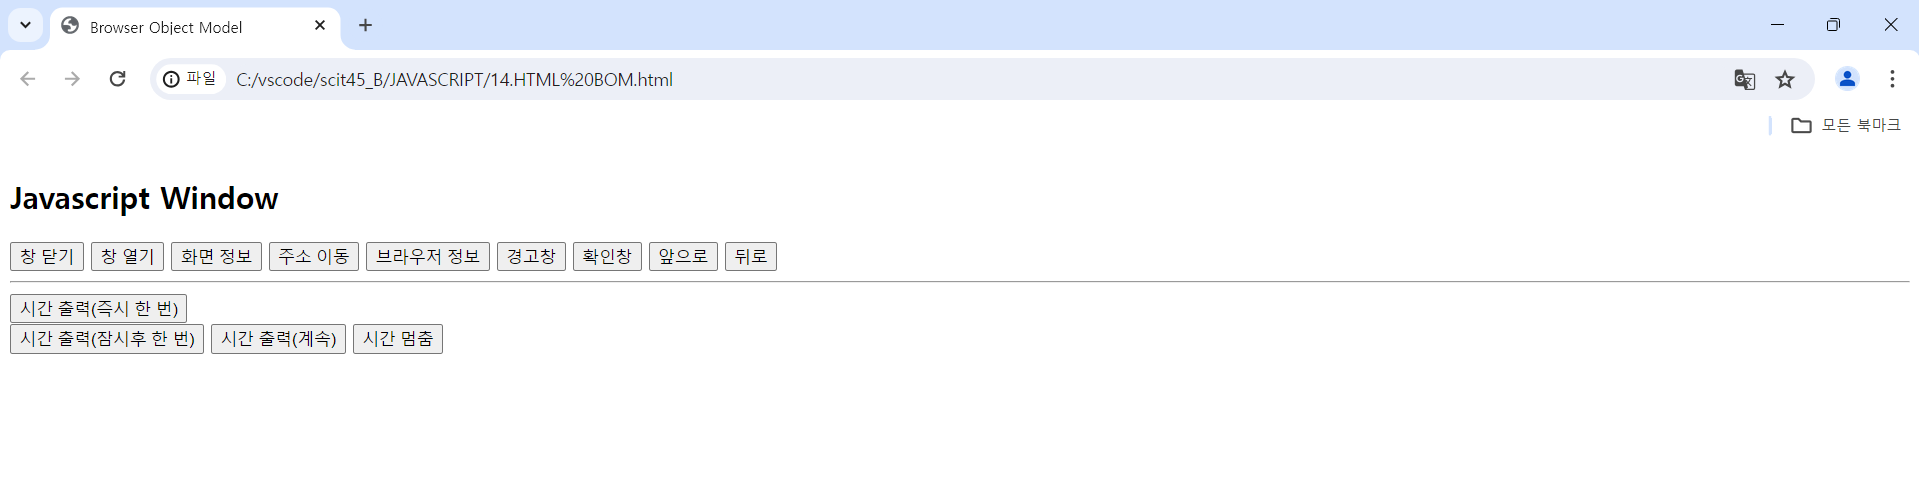
<h2>Javascript Window</h2>
<input type="button" onclick="closeWindow()" value="창 닫기" />
<input type="button" onclick="openWindow()" value="창 열기" />
<input type="button" onclick="screenInfo()" value="화면 정보" />
<input type="button" onclick="locationHref()" value="주소 이동" />
<input type="button" onclick="navigatorInfo()" value="브라우저 정보" />
<input type="button" onclick="alertWindow()" value="경고창" />
<input type="button" onclick="confirmWindow()" value="확인창" />
<input type="button" onclick="goForward()" value="앞으로" />
<input type="button" onclick="goBack()" value="뒤로" />
<hr />
<input type="button" onclick="output1()" value="시간 출력(즉시 한 번)" />
<div id="time"></div>
<input type="button" onclick="output2()" value="시간 출력(잠시후 한 번)" />
<input type="button" onclick="timeStart()" value="시간 출력(계속)" />
<input type="button" onclick="timeStop()" value="시간 멈춤" />
<div id="time2"></div>
</body>
</html>
※ 창 열기 : 아래 이미지와 같이 새 창을 열어줌 / 창 닫기 : 현재 브라우저 창을 닫아줌

※ 화면 정보 : screen 크기(width, height) 정보를 띄어줌

※ 주소 이동 : 구글 홈페이지로 현 웹 페이지의 주소를 이동시킴
※ 브라우저 정보 : navigator의 userAgent 정보를 띄어줌
※ 경고창 : alert 창을 띄어줌

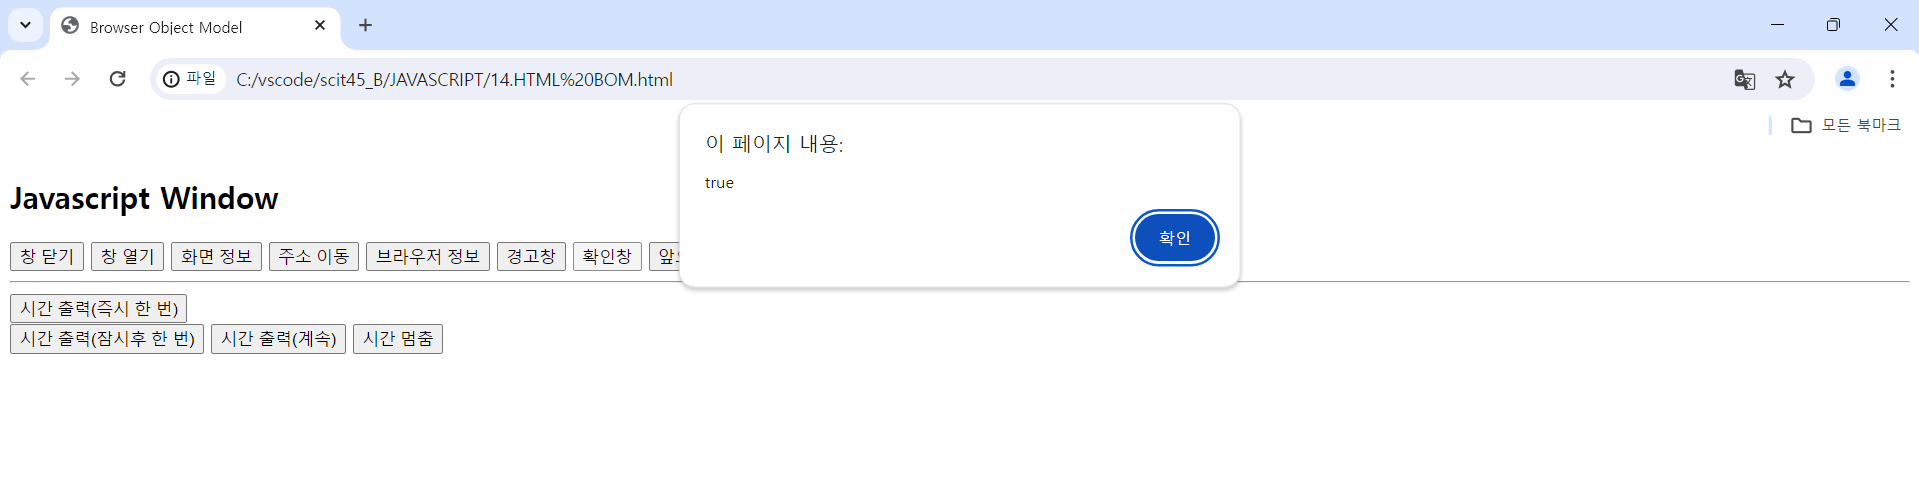
※ 확인창 : confirm한 결과(true, false)를 alert 창으로 띄어줌

※ 앞으로 : window 객체에 속한 history 값을 기준으로 앞의 결과(브라우저 창 좌측 상단의 오른쪽 방향 화살표가 여기 해당됨)를 불러옴 / 뒤로 : window 객체에 속한 history 값을 기준으로 이전의 결과(브라우저 창 좌측 상단의 왼쪽 방향 화살표가 여기 해당됨)를 불러옴
※ 시간 출력(즉시 한 번) : 날짜 및 시간 정보를 바로 아래 div(id="time") 태그에 넣어줌

※ 시간 출력(잠시후 한 번) : 날짜 및 시간 정보를 지정한 시간(3초)이 지나면 alert 창으로 띄어줌

※ 시간 출력(계속) : 1초마다 콜백 함수를 반복 실행하여 현재 시간 정보를 바로 아래 div(id="time2") 태그에 넣어줌

※ 시간 멈춤 : clearInterval() 함수를 통해 위의 타이머 결과(현재 시간 정보)를 멈춤

1-3) 예제(배경색 변경 / 글자수 표기)
Ex01.예제.html
<!DOCTYPE html>
<html lang="en">
  <head>
    <meta charset="UTF-8" />
    <meta name="viewport" content="width=device-width, initial-scale=1.0" />
    <title>배경색 바꾸기</title>
    <script>
      /*
            배경색 변경
            1. 버튼 태그에서 클릭 이벤트 시 함수 호출
            2. element명.style.backgroundColor = 색
        */

      let count = 0; // 전역변수
      function changeColor() {
        let colorType = ["red", "blue", "green", "yellow"];

        let bodyTag = document.querySelector("body");

        if (count >= colorType.length) {
          count = 0;
        }

        bodyTag.style.backgroundColor = colorType[count];
        count++;
      }
    </script>
  </head>
  <body>
    <button onclick="changeColor()">배경색 바꾸기</button>
  </body>
</html>


Ex02.예제.html
<!DOCTYPE html>
<!-- html lang 이슈(한글 글자수 인식 안 됨)로 인해 lang 속성을 삭제함 -->
<html>
  <head>
    <meta charset="UTF-8" />
    <meta name="viewport" content="width=device-width, initial-scale=1.0" />
    <title>Document</title>
    <script>
      /*
            1. 10글자 이상이면 '10글자 이상입니다' 문구 표기
            2. 10글자 이상이면 input 태그의 테두리 or 배경색 변경
            3. 10글자 미만이면 'n글자' 문구를 표기하고 원래 색 변경
            4. 위의 문구를 span 태그에 표기
        */

      function keyup() {
        let inputTag = document.querySelector("#text");
        let spanTag = document.querySelector("#contents");

        if (inputTag.value.length < 10) {
          spanTag.innerHTML = inputTag.value.length + "글자";
          inputTag.style.borderColor = "black";
        } else {
          spanTag.innerHTML = "10글자 이상입니다";
          inputTag.style.borderColor = "red";
        }
      }
    </script>
  </head>
  <body>
    <input type="text" id="text" onkeyup="keyup()" />
    <span id="contents"></span>
  </body>
</html>


'Javascript > Javascript(2024 version)' 카테고리의 다른 글
| Javascript(6) - 예제(간단한 계산기, window) (0) | 2024.06.14 |
|---|---|
| Javascript(5) - 예제(class 추가/삭제, selectBox를 통한 이미지 선택, 데이터 출력, 주민등록정보 조회) (0) | 2024.06.12 |
| Javascript(3) - Object 객체, JSON, 함수, 객체생성자 함수, HTML DOM (0) | 2024.06.10 |
| Javascript(2) - 연산자, 제어문, 배열, Date 객체, Math 객체, String 객체 (0) | 2024.06.05 |
| Javascript(1) - 회원 가입 예제, Javascript 출력 예제 / 기본 문법(변수, 데이터 타입) (0) | 2024.06.04 |


