1) JQuery
1-1) 이벤트
1-2) 애니메이션 효과
2) JQuery 예제
2-1) 버튼 선택에 따른 링크 이동
2-2) 텍스트 타이핑 커서 구현
1) JQuery
1-1) 이벤트
05.이벤트.html
<!DOCTYPE html>
<html lang="en">
<head>
<meta charset="UTF-8" />
<meta name="viewport" content="width=device-width, initial-scale=1.0" />
<title>Document</title>
<script src="./jq_folder/jquery-3.7.1.min.js"></script>
<style>
.inputCss1 {
border: 1px solid black;
background-color: white;
}
.inputCss2 {
border: 1px solid beige;
background-color: skyblue;
}
</style>
<script>
$(document).ready(function () {
$("#button1").on("click", testbutton);
$("#button2").on("click", testbuttonOff);
$("#button3").on("click", testbuttonOn);
$("#text1").on("click", function () {
alert("#text1의 click 이벤트 실행");
});
$("#text2").on("click", function () {
$("#text1").trigger("click");
});
$("#text3").on("click", function () {
setTimeout(function () {
$("#text1").trigger("click");
}, 3000);
});
$("#img1, #img2").on("mouseenter", function () {
let w = $(this).width();
let h = $(this).height();
$(this).css("width", w * 2);
$(this).css("height", h * 2);
});
$("#img1, #img2").on("mouseleave", function () {
let w = $(this).width();
let h = $(this).height();
$(this).css("width", w / 2);
$(this).css("height", h / 2);
});
$(".bt").on("click", function (event) {
// event : 이벤트가 발생될 때 브라우저가 자동적으로 생성하는 객체
alert(event);
// event.timeStamp : 문서가 로딩되어지는 시점부터 이벤트가 발생하기까지 걸린 시간
alert(event.timeStamp);
alert("clicked element: " + event.target.tagName);
let msg = $(event.target).attr("data");
// let msg = $(this).attr("data"); => 바로 위의 코드와 동일한 기능을 수행하는 코드이다!
alert(msg + "번 버튼 클릭");
});
$("#input1, #input2").on("focus", function () {
$(this).removeClass("inputCss1");
$(this).addClass("inputCss2");
});
$("#input1, #input2").on("blur", function () {
$(this).removeClass("inputCss2");
$(this).addClass("inputCss1");
});
$("#input3").on("keyup", function () {
let n = $("#input3").val().length;
$("#cnt").html(n);
});
});
function testbutton() {
alert("button1 클릭함");
}
function testbuttonOff() {
$("#button1").off("click");
}
function testbuttonOn() {
$("#button1").on("click", testbutton);
}
</script>
</head>
<body>
<h1>[ J-Query 이벤트 ]</h1>
<ol>
<li>
이벤트 관련 함수
<ul>
<li>
on() 함수 - 이벤트 연결<br />
$(셀렉터).on(이벤트 이름, 함수)
</li>
<li>
off() 함수 - 이벤트 연결 제거<br />
$(셀렉터).off()<br />
$(셀렉터).off(제거할 이벤트 이름)
</li>
<li>
trigger() 함수 - 이벤트 강제 발생<br />
$(셀렉터).trigger(이벤트 이름)
</li>
</ul>
</li>
<li>
이벤트 종류
<table>
<tr>
<th style="width: 200px">Mouse Events</th>
<th style="width: 200px">Keyboard Events</th>
<th style="width: 200px">Form Events</th>
<th style="width: 300px">Document/Window Events</th>
</tr>
<tr>
<td>click</td>
<td>keypress</td>
<td>submit</td>
<td>load</td>
</tr>
<tr>
<td>dblclick</td>
<td>keydown</td>
<td>change</td>
<td>resize</td>
</tr>
<tr>
<td>mouseenter</td>
<td>keyup</td>
<td>focus</td>
<td>scroll</td>
</tr>
<tr>
<td>mouseleave</td>
<!-- : html에서 공백을 나타낼 때 사용하는 코드 -->
<td> </td>
<td>blur</td>
<td>unload</td>
</tr>
</table>
</li>
<li>
이벤트 처리 연결과 해제
<p><input type="button" value="button1" id="button1" /></p>
<p>
<input
type="button"
value="button1의 이벤트 연결 해제"
id="button2"
/>
</p>
<p>
<input
type="button"
value="button1의 이벤트 다시 연결"
id="button3"
/>
</p>
</li>
<li>
이벤트 강제 발생과 시간 지연 함수
<p id="text1">일반 텍스트에 이벤트 연결</p>
<p id="text2">이벤트 강제 발생</p>
<p id="text3">3초 뒤에 이벤트 강제 발생</p>
</li>
<li>
여러 객체의 mouseenter, mouseleave 이벤트
<p><img src="../HTML/1.image/file/htmlLogo.png" id="img1" /></p>
<p><img src="../HTML/1.image/file/javascriptLogo.png" id="img2" /></p>
</li>
<li>
여러 객체의 사용자 정의 속성 읽기
<p><input type="button" value="버튼1" class="bt" data="1" /></p>
<p><input type="button" value="버튼2" class="bt" data="2" /></p>
<p><input type="button" value="버튼3" class="bt" data="3" /></p>
</li>
<li>
focus, blur 이벤트
<p><input type="text" id="input1" class="inputCss1" /></p>
<p><input type="text" id="input2" class="inputCss1" /></p>
</li>
<li>
keyup 이벤트
<input type="text" id="input3" />
<span id="cnt">0</span>글자
</li>
</ol>
</body>
</html>
※ 첫 접속 화면
※ "button1" 버튼 클릭 시 화면
※ "button1의 이벤트 연결 해제" 버튼 클릭 후 "button1" 버튼을 누르면 위의 alert 창이 안 뜸!
※ "button1의 이벤트 다시 연결" 버튼 클릭 후 "button1" 버튼을 누르면 위의 alert 창이 다시 뜸!
※ "일반 텍스트에 이벤트 연결" 텍스트 클릭 시 화면

※ "이벤트 강제 발생" 텍스트 클릭 시 화면

※ "3초 뒤에 이벤트 강제 발생" 텍스트 클릭 시 화면 : 텍스트 클릭 후 3초 뒤에 아래와 같이 alert 창을 띄워줌!

※ "이미지"의 일정한 영역에 마우스를 올렸다 떼면 아래와 같이 이미지가 커졌다 작아짐!


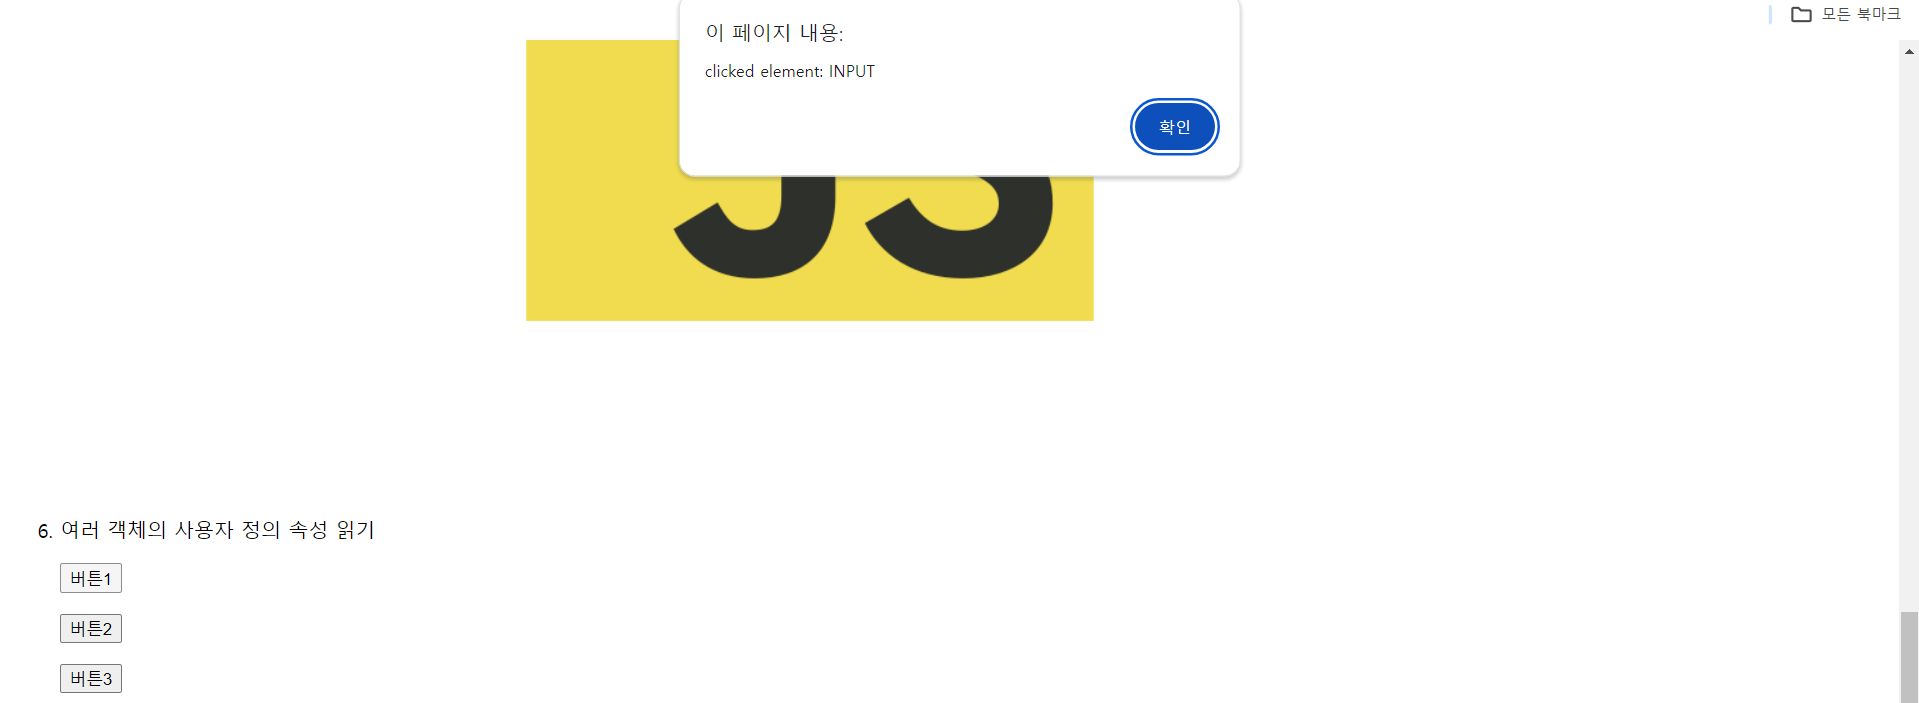
※ "버튼1"을 클릭 시 화면 : 아래와 같이 순서대로 alert 창이 뜸!
( "버튼2" , "버튼3" 역시 마지막의 버튼 번호만 각각 해당하는 번호로 alert 창이 뜨고,
나머지 alert 창 출력 순서는 동일함!)


※ "7. focus, blur 이벤트 텍스트 아래의 Input Box들" 클릭 시 화면
- 아래와 같이 각 Input Box에 커서를 두면 색깔이 파란색으로 바뀌었다가 커서를 없애면 원래의 흰색으로 바뀜!


※ "8. keyup 이벤트 텍스트 옆의 Input Box"에 text 입력 시 화면 : text의 글자수를 세서 옆에 표시해줌!


1-2) 애니메이션 효과
06.애니메이션 효과.html
<!DOCTYPE html>
<html lang="en">
<head>
<meta charset="UTF-8" />
<meta name="viewport" content="width=device-width, initial-scale=1.0" />
<title>Document</title>
<script src="./jq_folder/jquery-3.7.1.min.js"></script>
<style>
#textDiv {
border: 1px solid black;
background-color: beige;
width: 200px;
height: 200px;
}
div {
margin: 10px 0px;
width: 10%;
height: 100px;
background-color: #e3f2fd;
}
#a {
background-color: #bbdefb;
}
#b {
background-color: #ffcdd2;
}
</style>
<script>
$(document).ready(function () {
$("#bt1").click(function () {
$("#textDiv").show("slow");
});
$("#bt2").click(function () {
$("#textDiv").hide("slow");
});
$("#bt3").click(function () {
$("#textDiv").toggle("slow");
});
$("#bt4").click(function () {
$("#textDiv").slideDown("slow");
});
$("#bt5").click(function () {
$("#textDiv").slideUp("slow");
});
$("#bt6").click(function () {
$("#textDiv").fadeIn("slow");
});
$("#bt7").click(function () {
$("#textDiv").fadeOut("slow");
});
$("#btn1").click(function () {
// swing : 시작과 끝은 느리게, 중간은 가속도가 붙어 빠른 속도로 움직임!
$("#a").animate({ width: "100%" }, 2000, "swing");
// linear : 일정한 속도로 움직임!
$("#b").animate({ width: "100%" }, 2000, "linear");
});
$("#btn2").click(function () {
$("#a").animate({ width: "0%" }, 2000, "swing");
$("#b").animate({ width: "0%" }, 2000, "linear");
});
let fileName = [
"../HTML/1.image/file/home.png",
"../HTML/1.image/file/list.png",
"../HTML/1.image/file/exit.png",
];
let index = 1;
$("#img1").click(function () {
// $(this).attr("src", fileName[index]);
$(this)
.css("opacity", "0")
.stop()
.attr("src", fileName[index])
.animate({ opacity: 1 }, 1000);
index++;
if (index >= fileName.length) {
index = 0;
}
});
});
</script>
</head>
<body>
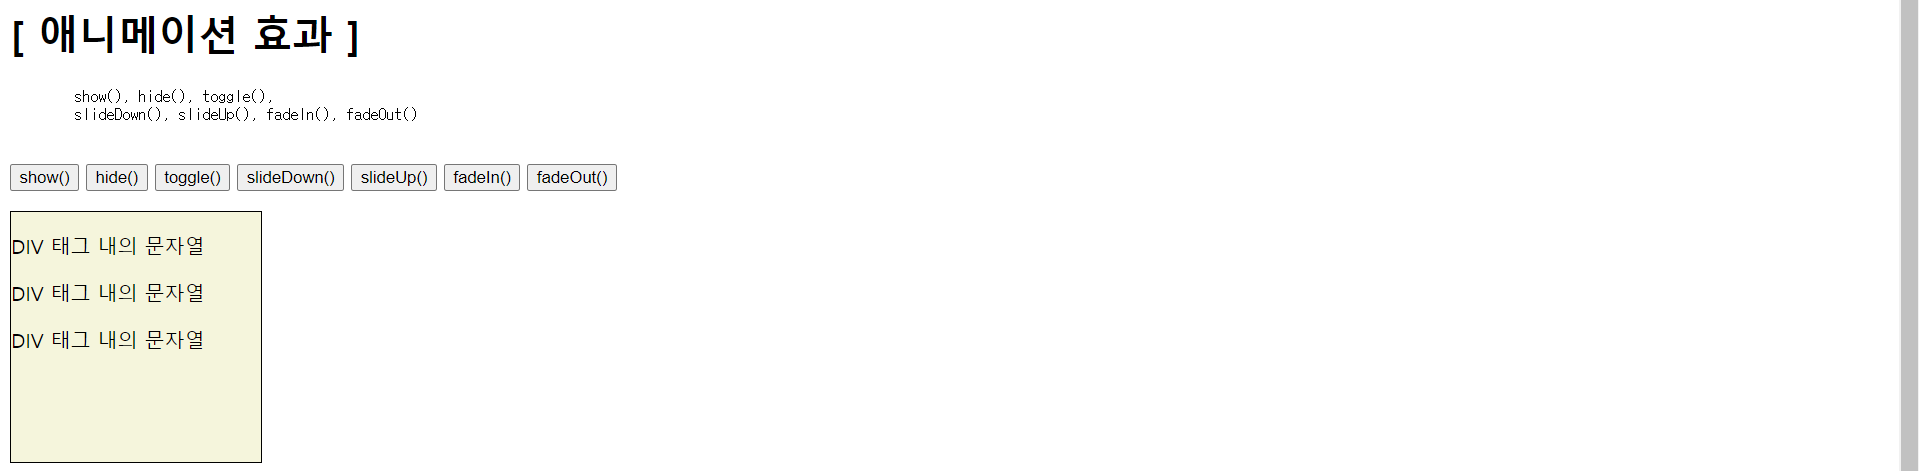
<h1>[ 애니메이션 효과 ]</h1>
<pre>
show(), hide(), toggle(),
slideDown(), slideUp(), fadeIn(), fadeOut()
</pre>
<p>
<input type="button" value="show()" id="bt1" />
<input type="button" value="hide()" id="bt2" />
<input type="button" value="toggle()" id="bt3" />
<input type="button" value="slideDown()" id="bt4" />
<input type="button" value="slideUp()" id="bt5" />
<input type="button" value="fadeIn()" id="bt6" />
<input type="button" value="fadeOut()" id="bt7" />
</p>
<div id="textDiv">
<p>DIV 태그 내의 문자열</p>
<p>DIV 태그 내의 문자열</p>
<p>DIV 태그 내의 문자열</p>
</div>
<h3>[ 애니메이션 효과 2 ]</h3>
<button id="btn1">증가</button>
<button id="btn2">감소</button>
<div id="a"></div>
<div id="b"></div>
<h3>[ 애니메이션 효과 3 ]</h3>
<img src="../HTML/1.image/file/home.png" id="img1" />
</body>
</html>
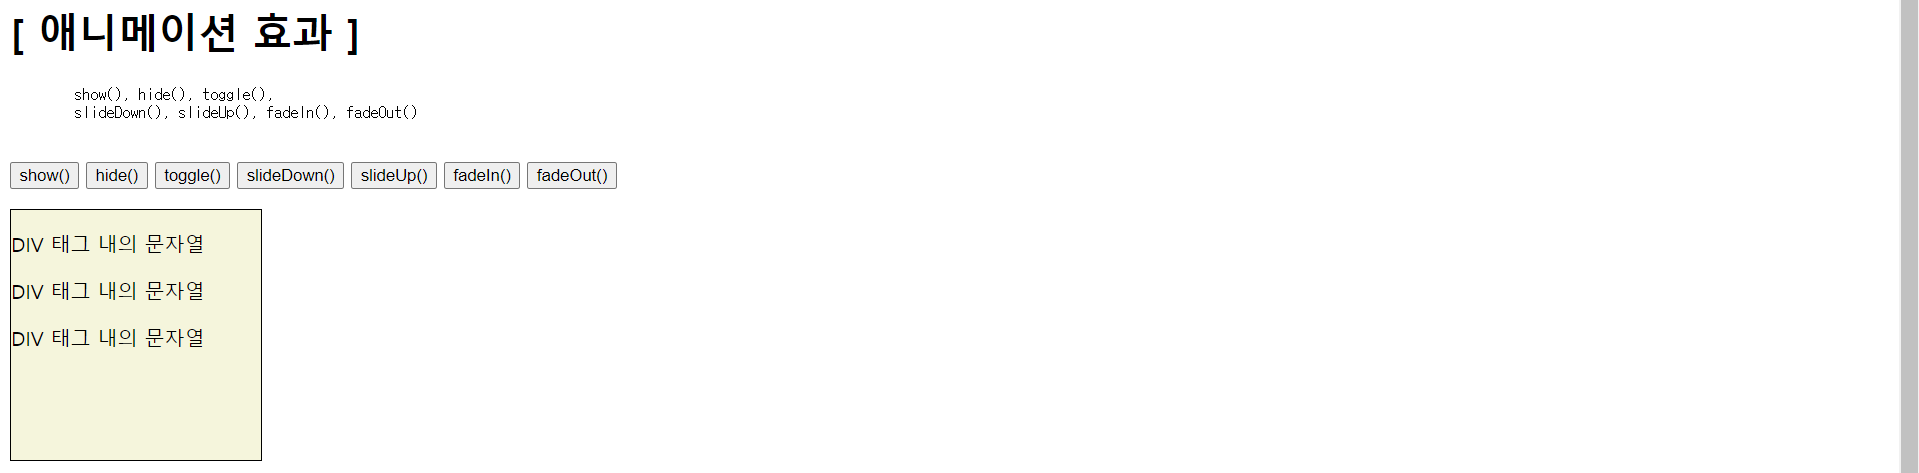
※ 첫 접속 화면
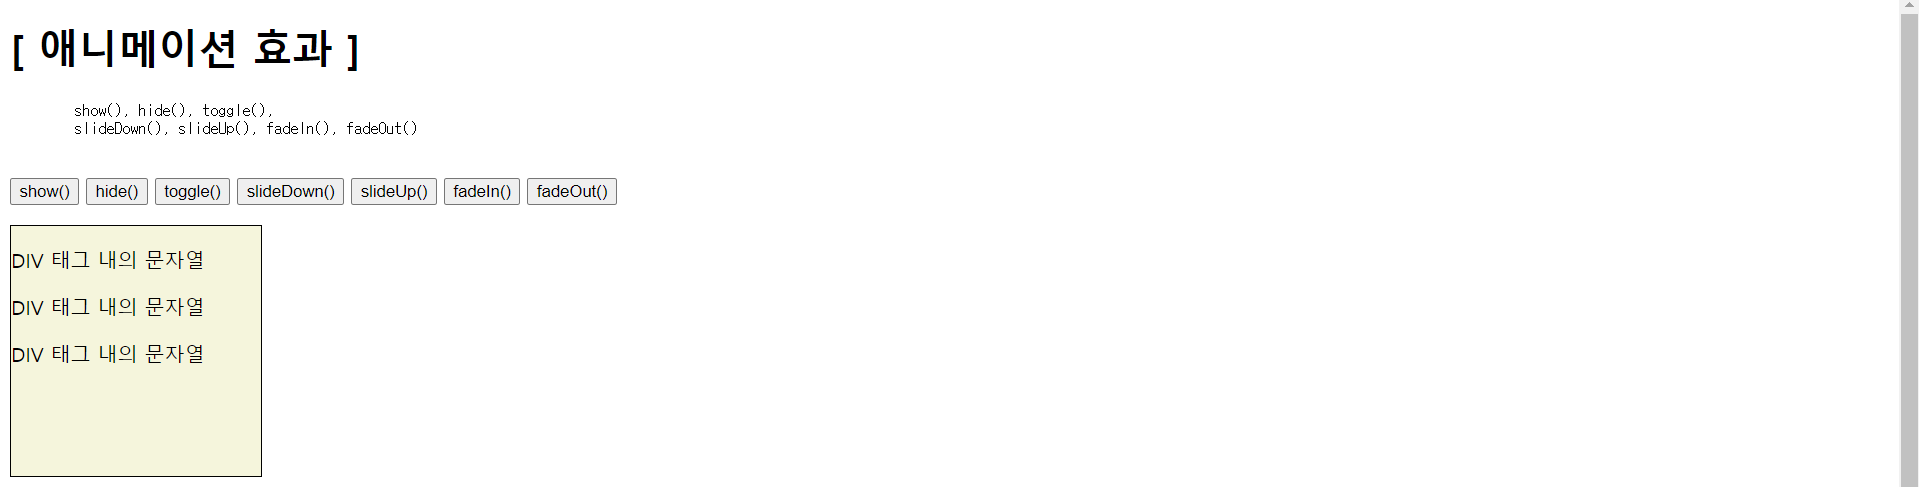
※ show(), toggle(), slideDown(), fadeIn() 등 모두 결과 상으로는 동일한 실행결과를 보여주지만
보여주는 스타일에 차이가 있다는 점을 기억할 것!!
※ "show()" 버튼 클릭 시 화면

※ "hide()" 버튼 클릭 시 화면

※ "toggle()" 버튼 클릭 시 화면
※ "slideDown()" 버튼 클릭 시 화면

※ "slideUp()" 버튼 클릭 시 화면

※ "fadeIn()" 버튼 클릭 시 화면
※ "fadeOut()" 버튼 클릭 시 화면
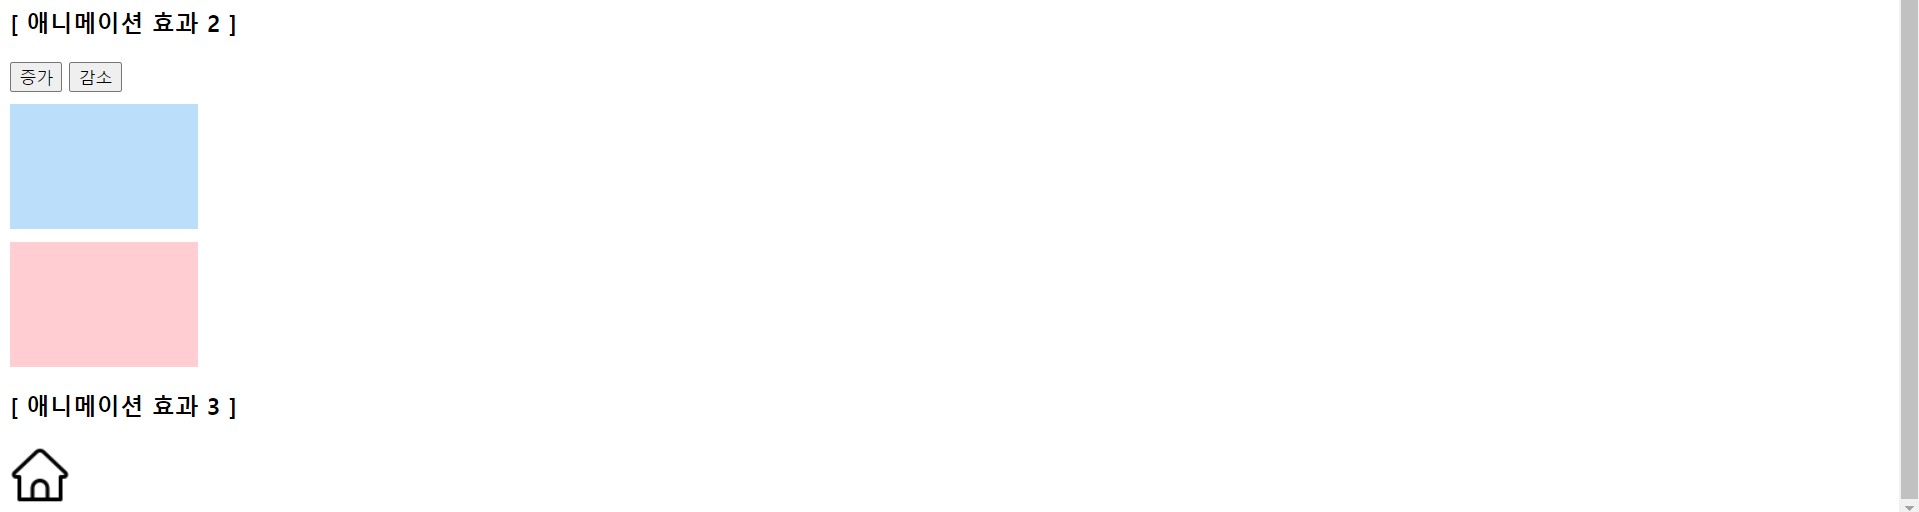
※ "증가" 버튼 클릭 시 화면 : 두 개의 영역(파란색은 "swing", 핑크색은 "linear")의 너비(width) 증가 속도가 다름!


※ "감소" 버튼 클릭 시 화면 : 두 개의 영역(파란색은 "swing", 핑크색은 "linear")의 너비(width) 감소 속도 역시 다름!


※ "애니메이션 효과 3의 이미지" 클릭 시 화면 : 아래의 순서로 클릭할 때마다 이미지가 순서대로 반복해서 바뀜!


2) JQuery 예제
2-1) 버튼 선택에 따른 링크 이동
<!DOCTYPE html>
<html lang="en">
  <head>
    <meta charset="UTF-8" />
    <meta name="viewport" content="width=device-width, initial-scale=1.0" />
    <title>Document</title>
    <script src="./jq_folder/jquery-3.7.1.min.js"></script>
    <script>
      // 교수님 version
      $(function () {
        $(".btn").on("click", function () {
          let url = $(this).attr("url");
          $("#alink").attr("href", url);
        });
      });

      /*
      // my version
      $(document).ready(function () {
        let urls = [
          "https://www.naver.com",
          "https://www.nate.com",
          "https://www.google.com",
        ];

        let idx;
        $(".btn").on("click", function () {
          idx = $(this).index();
          console.log(idx);
        });

        $("#alink").on("click", function () {
          $(this).attr("href", urls[idx]);
        });
      });
      */
    </script>
  </head>
  <body>
    <h1>J-Query 예제1</h1>
    <p>
      <input
        type="button"
        value="네이버"
        class="btn"
        url="https://www.naver.com"
      />
      <input
        type="button"
        value="네이트"
        class="btn"
        url="https://www.nate.com"
      />
      <input
        type="button"
        value="구글"
        class="btn"
        url="https://www.google.com"
      />
    </p>
    <a href="" id="alink" target="_blank">이동하기</a>
  </body>
</html>
※ 첫 접속 화면

※ "네이버 or 네이트 or 구글" 버튼 클릭 후 "이동하기" 링크 클릭 시 각각 해당하는 페이지 화면으로 이동함!

2-2) 텍스트 타이핑 커서 구현
<!DOCTYPE html>
<html lang="en">
  <head>
    <meta charset="UTF-8" />
    <meta name="viewport" content="width=device-width, initial-scale=1.0" />
    <title>Document</title>
    <script src="./jq_folder/jquery-3.7.1.min.js"></script>
    <style>
      p.typing-txt {
        display: none;
      }

      .typing {
        display: inline-block;
        /* cursor 애니메이션 적용 */
        animation-name: cursor;
        /* 커서가 깜박이는 주기가 0.3초 */
        animation-duration: 0.3s;
        /* 애니메이션이 무한히 반복되도록 설정 */
        animation-iteration-count: infinite;
      }

      /* 오른쪽 테두리를 세 단계로 나눠 커서처럼 깜삑이는 효과 */
      @keyframes cursor {
        0% {
          border-right: 1px solid #fff;
        }

        50% {
          border-right: 1px solid #000;
        }

        100% {
          border-right: 1px solid #fff;
        }
      }
    </style>
    <script>
      $(document).ready(function () {
        let typingIdx = 0;
        let typingTxt = "";
        let tyInt;

        $(".typing-txt").keyup(function () {
          // 타이핑될 텍스트를 가져온다
          typingTxt = $(".typing-txt").val();
          typingTxt = typingTxt.split(""); // 한글자씩 자른다.

          // 현재 타이핑 내용을 초기화
          clearInterval(tyInt);
          typingIdx = 0;
          $(".typing").empty();

          // 타이핑 효과를 시작
          tyInt = setInterval(typing, 100);
        });

        function typing() {
          if (typingIdx < typingTxt.length) {
            // 타이핑될 텍스트 길이만큼 반복
            $(".typing").append(typingTxt[typingIdx]);
            // 한글자씩 이어준다.
            typingIdx++;
          } else {
            // 끝나면 반복종료
            clearInterval(tyInt);
          }
        }
      });
    </script>
  </head>
  <body>
    <input class="typing-txt" placeholder="입력하세요.." />
    <p class="typing"></p>
  </body>
</html>
※ 첫 접속 화면

※ "입력하세요" 입력상자에 입력 시 결과 화면 : 커서가 계속 깜빡깜빡 움직이는 것처럼 CSS를 구현함!

'JQuery' 카테고리의 다른 글
| JQuery(5) - 복습2(배열, 문서 객체 조작) (0) | 2024.07.16 |
|---|---|
| JQuery(4) - 복습(선택자, 이벤트), 추가 정리사항 (0) | 2024.07.15 |
| JQuery(2) - 선택자, 배열 및 함수, 문서 객체 (0) | 2024.06.14 |
| JQuery(1) - 기본 개념 (0) | 2024.06.14 |


