1) JQuery
1-1) 복습
1-1-1) 배열
1-1-2) 문서 객체 조작
1) JQuery
1-1) 복습
[src/main/java] - [net.datasa.web2.controller] 안에 JqueryController.java 파일 생성 후 아래와 같이 작성
package net.datasa.web2.controller;

import org.springframework.stereotype.Controller;
import org.springframework.web.bind.annotation.GetMapping;
import org.springframework.web.bind.annotation.RequestMapping;

import lombok.extern.slf4j.Slf4j;

// web2 프로젝트에 controller와 HTML 추가

@Slf4j
@Controller
@RequestMapping("jq")
public class JqueryController {
	@GetMapping("jquery1")
	public String jquery1() {
		return "jqView/jquery1";
	}

	@GetMapping("jquery2")
	public String jquery2() {
		return "jqView/jquery2";
	}

	@GetMapping("jquery3")
	public String jquery3() {
		return "jqView/jquery3";
	}

	@GetMapping("jquery4")
	public String jquery4() {
		return "jqView/jquery4";
	}
}
[src/main/resources] - [templates] 안에 home.html 파일 생성 후 아래와 같이 작성
<!DOCTYPE html>
<html xmlns:th="http://thymeleaf.org"
	xmlns:sec="http://www.thymeleaf.org/extras/spring-security">
<head>
<meta charset="UTF-8">
<title>web2</title>
</head>
<body>
	<h1>[ web2 ]</h1>

	<p th:if="${session.loginId != null}" th:text="로그인해야만보이는페이지"></p>
	<p th:if="${session.loginId == null}" th:text="환영합니다."></p>

	<ol>
		<li>Lombok & Logger 사용
			<ul>
				<li>
					<a href="lom/lombok">Lombok 사용하기</a>
				</li>
				<li>
					<a href="lom/logger">Logger 사용하기</a>
				</li>
				<!--
				여기는 메인화면입니다. 위의 l은 소문자 L입니다.
				글꼴 때문에 꼬부라져 보이는 것입니다.
				-->
			</ul>
		</li>
		<li>서버로 데이터 보내기/받기
			<ul>
				<li>
					<a href="param/view1">GET 방식으로 보내기</a>
				</li>
				<li>
					<a href="param/view2">POST 방식으로 보내기</a>
				</li>
				<li>
					<a href="param/model">Model 객체 이용하기</a>
				</li>
			</ul>
		</li>
		<li> 예제
			<ul>
				<li>
					<a href="ex/calc1">계산기</a>
				</li>
				<li>
					<a href="ex/calc2">계산기2</a>
				</li>
				<li>
					<a href="ex/count">방문횟수 카운트</a>
				</li>
				<li>
					<a href="ex/count2">닉네임 설정 및 방문횟수 카운트</a>
				</li>
			</ul>
		</li>

		<li> jQuery
			<ul>
				<li>
					<a href="jq/jquery1">선택자</a>
				</li>
				<li>
					<a href="jq/jquery2">이벤트</a>
				</li>
				<li>
					<a href="jq/jquery3">배열</a>
				</li>
				<li>
					<a href="jq/jquery4">문서객체 조작</a>
				</li>
			</ul>
		</li>

		<li> 세션 사용
			<ul>
				<li>
					<a href="ss/session1">세션에 값 저장</a>
				</li>
				<li>
					<a href="ss/session2">세션에서 값 읽기</a>
				</li>
				<li>
					<a href="ss/session3">세션의 값 삭제</a>
				</li>

				<li>
					<a href="ss/login">로그인</a>
				</li>
				<li>
					<a href="ss/logout">로그아웃</a>
				</li>
				<li>
					<a href="ss/loginTest">로그인해야 들어갈 수 있는 메뉴</a>
				</li>
			</ul>
		</li>
		<li> 쿠키 사용
			<ul>
				<li>
					<a href="ck/cookie1">쿠키 저장</a>
				</li>
				<li>
					<a href="ck/cookie2">쿠키 읽기</a>
				</li>
				<li>
					<a href="ck/cookie3">쿠키 삭제</a>
				</li>
			</ul>
		</li>
		<li> localStorage와 sessionStorage의 사용
			<ul>
				<li>
					<a href="local/save">값 저장</a>
				</li>
				<li>
					<a href="local/read">값 읽기</a>
				</li>
				<li>
					<a href="local/delete">값 삭제</a>
				</li>
			</ul>
		</li>
		<li> Thymeleaf 문법
			<ul>
				<li>
					<a href="th/thymeleaf1">타임리프 연습1</a>
				</li>
				<li>
					<a href="th/thymeleaf2">타임리프 연습2</a>
				</li>
			</ul>
		</li>
	</ol>
</body>
</html>
1-1-1) 배열
(1) [src/main/resources] - [templates.jqView] 안에 jquery3.html 파일 생성 후 아래와 같이 작성
<!DOCTYPE html>
<html>
<head>
<meta charset="UTF-8">
<title>jquery3</title>
<style>
table,
td,
th {
border: 1px solid black;
border-collapse: collapse;
padding: 10px;
text-align: center;
}
</style>
<script th:src="@{/js/jquery-3.7.1.min.js}"></script>
<script>
$(document).ready(function() {
$("#bt1").click(test1);
$("#bt2").click(test2);
$("#bt3").click(test3);
});
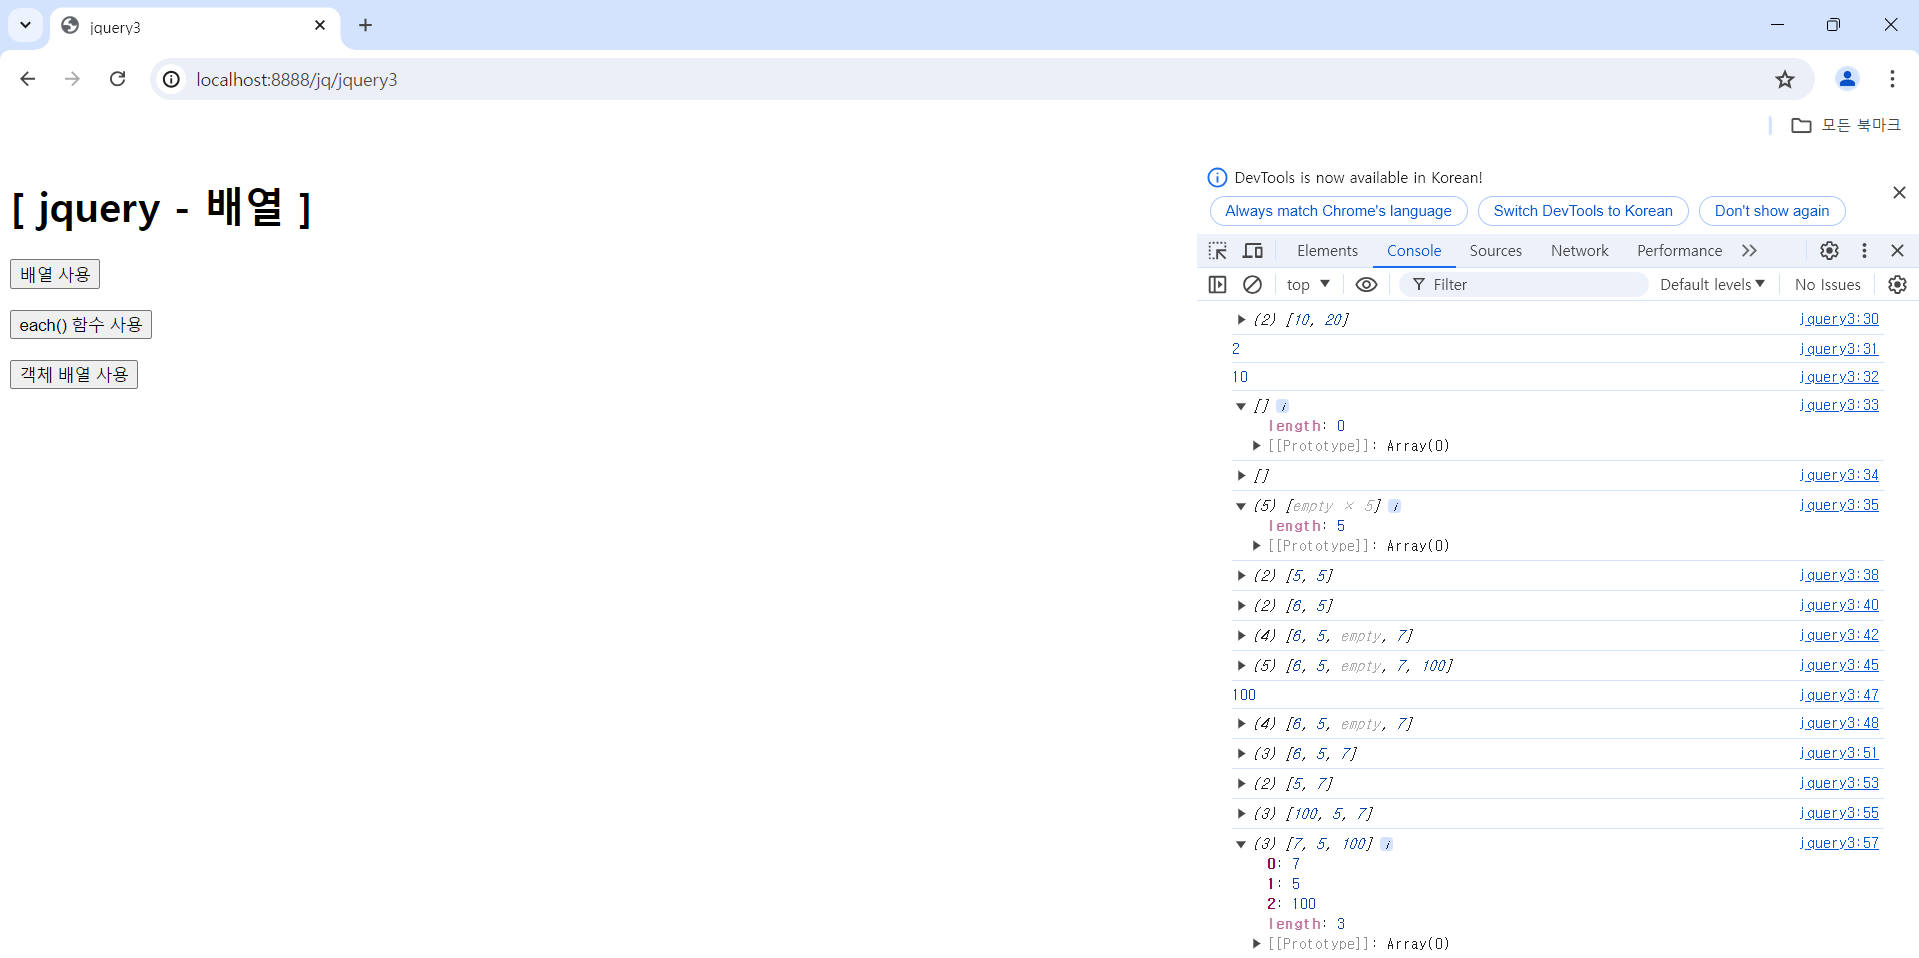
function test1() {
let ar1 = [10,20];
let ar2 = [];
let ar3 = new Array();
let ar4 = new Array(5);
console.log(ar1);
console.log(ar1.length);
console.log(ar1[0]);
console.log(ar2);
console.log(ar3);
console.log(ar4);
ar1.fill(5);
console.log(ar1);
ar1[0] = 6;
console.log(ar1);
ar1[3] = 7;
console.log(ar1);
ar1.push(100);
console.log(ar1);
let a = ar1.pop();
console.log(a);
console.log(ar1);
ar1.splice(2, 1); // 2번 요소부터 1개 삭제
console.log(ar1);
ar1.shift(); // 왼쪽으로 shift
console.log(ar1);
ar1.unshift(100); // 앞에 추가하고 오른쪽으로 shift
console.log(ar1);
ar1.reverse();
console.log(ar1);
}
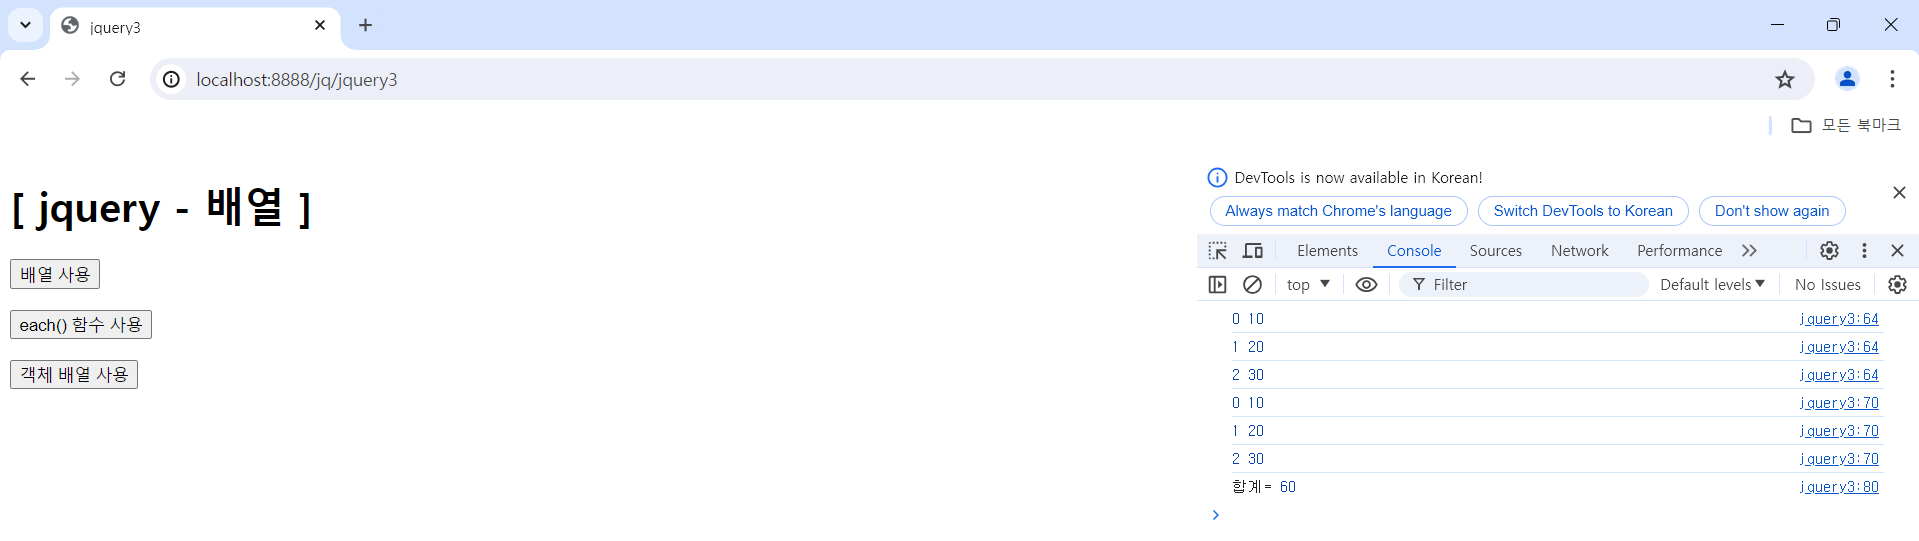
function test2() {
let ar = [10, 20, 30];
$.each(ar, function(i, n) {
console.log(i, n);
});
// 바로 위의 방식보다 일반적으로 많이 사용하는 방식이다.
// 물론 결과는 위의 반복문(each 문)과 아래 반복문의 결과가 동일하다.
$(ar).each(function(i, n) {
console.log(i, n);
});
// ar 배열의 모든 원소의 값 합계
let s = 0;
$(ar).each(function(i, n) {
s += n; // s = s + n;
});
console.log("합계=", s);
}
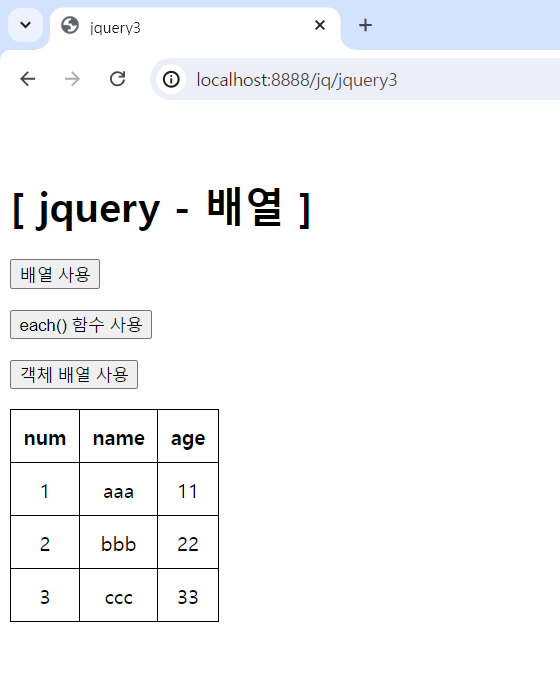
function test3() {
let ob = {num:1, name:"aaa", age:11};
// alert(ob);
// alert(JSON.stringify(ob));
let objectArray = [
{num:1, name:"aaa", age:11},
{num:2, name:"bbb", age:22},
{num:3, name:"ccc", age:33}
];
let html = `<table>
<tr>
<th>num</th>
<th>name</th>
<th>age</th>
</tr>`;
$(objectArray).each(function(i, ob) {
// console.log("이름:", ob.name);
html += `<tr>
<td>${ob.num}</td>
<td>${ob.name}</td>
<td>${ob.age}</td>
</tr>`;
});
html += `</table>`;
$("#output").html(html);
}
</script>
</head>
<body>
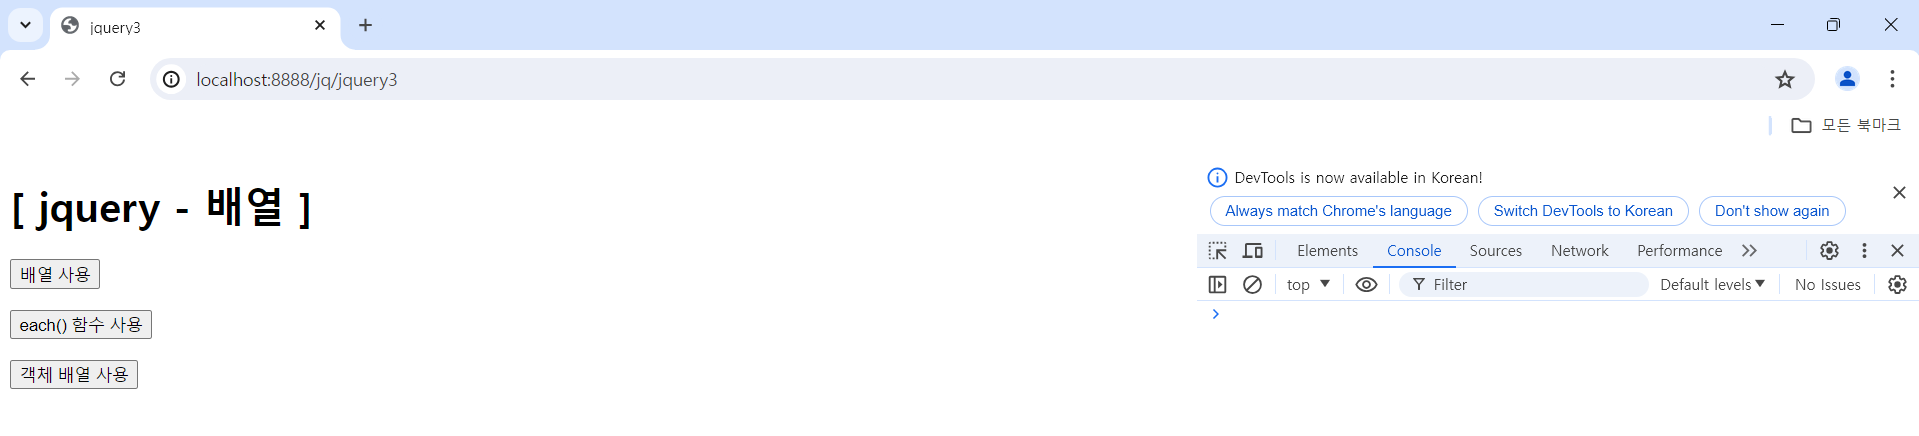
<h1>[ jquery - 배열 ]</h1>
<p>
<button id="bt1">배열 사용</button>
</p>
<p>
<button id="bt2">each() 함수 사용</button>
</p>
<p>
<button id="bt3">객체 배열 사용</button>
</p>
<div id="output"></div>
</body>
</html>
(2) 결과 화면
첫 접속 화면
"배열 사용" 버튼 클릭 시 화면
"each() 함수 사용" 버튼 클릭 시 화면
"객체 배열 사용" 버튼 클릭 시 화면
1-1-2) 문서 객체 조작
(1) [src/main/resources] - [templates.jqView] 안에 jquery4.html 파일 생성 후 아래와 같이 작성
<!DOCTYPE html>
<html>
<head>
<meta charset="UTF-8">
<title>jquery4</title>
<script th:src="@{/js/jquery-3.7.1.min.js}"></script>
<script>
$(document).ready(function() {
$("#bt1").click(test1);
$("#bt2").click(test2);
$("#bt3").click(test3);
$("#bt4").click(test4);
$("#img1").click(test5);
$("#img2").click(test6);
setInterval(test7, 300);
});
function test1() {
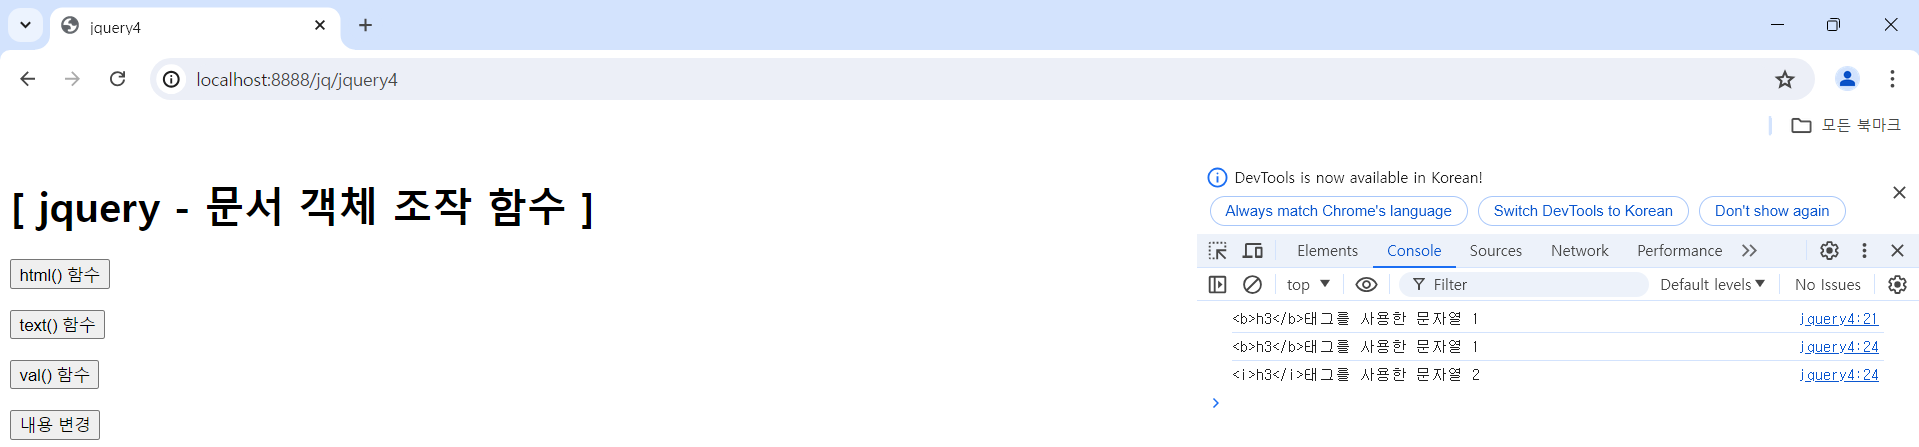
// html() : 지정한 선택자에 해당되는 element들 중 맨 처음 element 하나만 가져온다.
let s = $("h3").html();
console.log(s);
$("h3").each(function(i, x) {
console.log($(x).html());
});
};
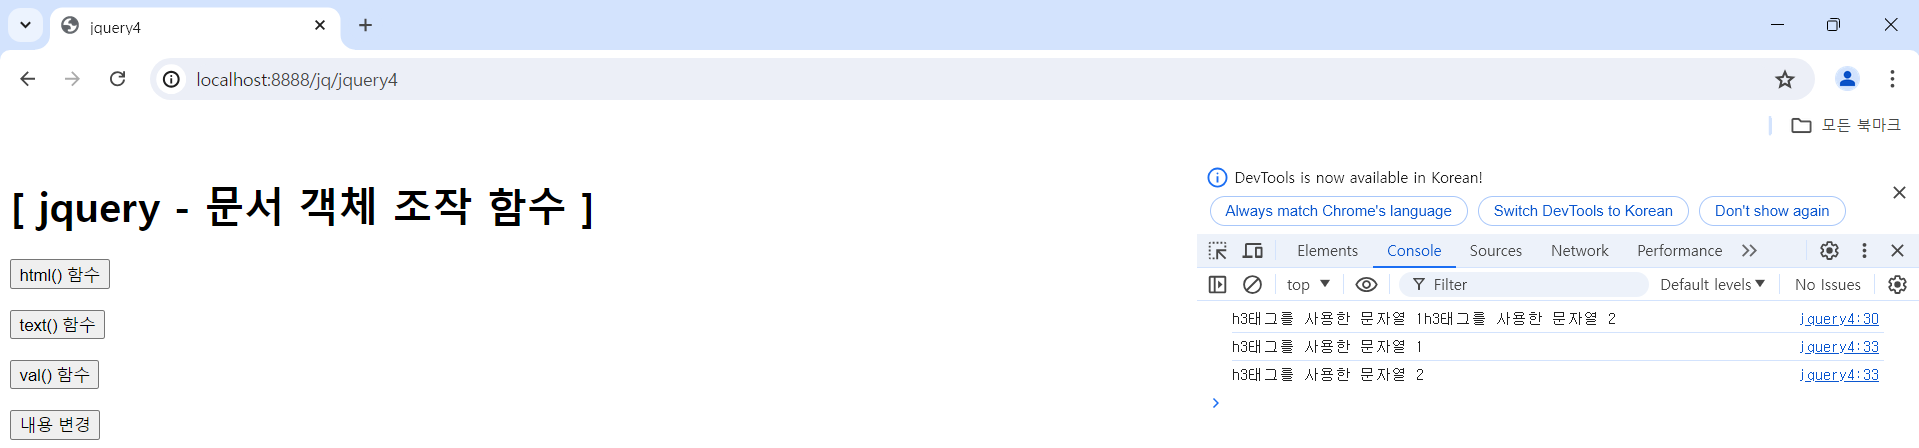
function test2() {
let s = $("h3").text();
console.log(s);
$("h3").each(function(i, x) {
console.log($(x).text());
});
};
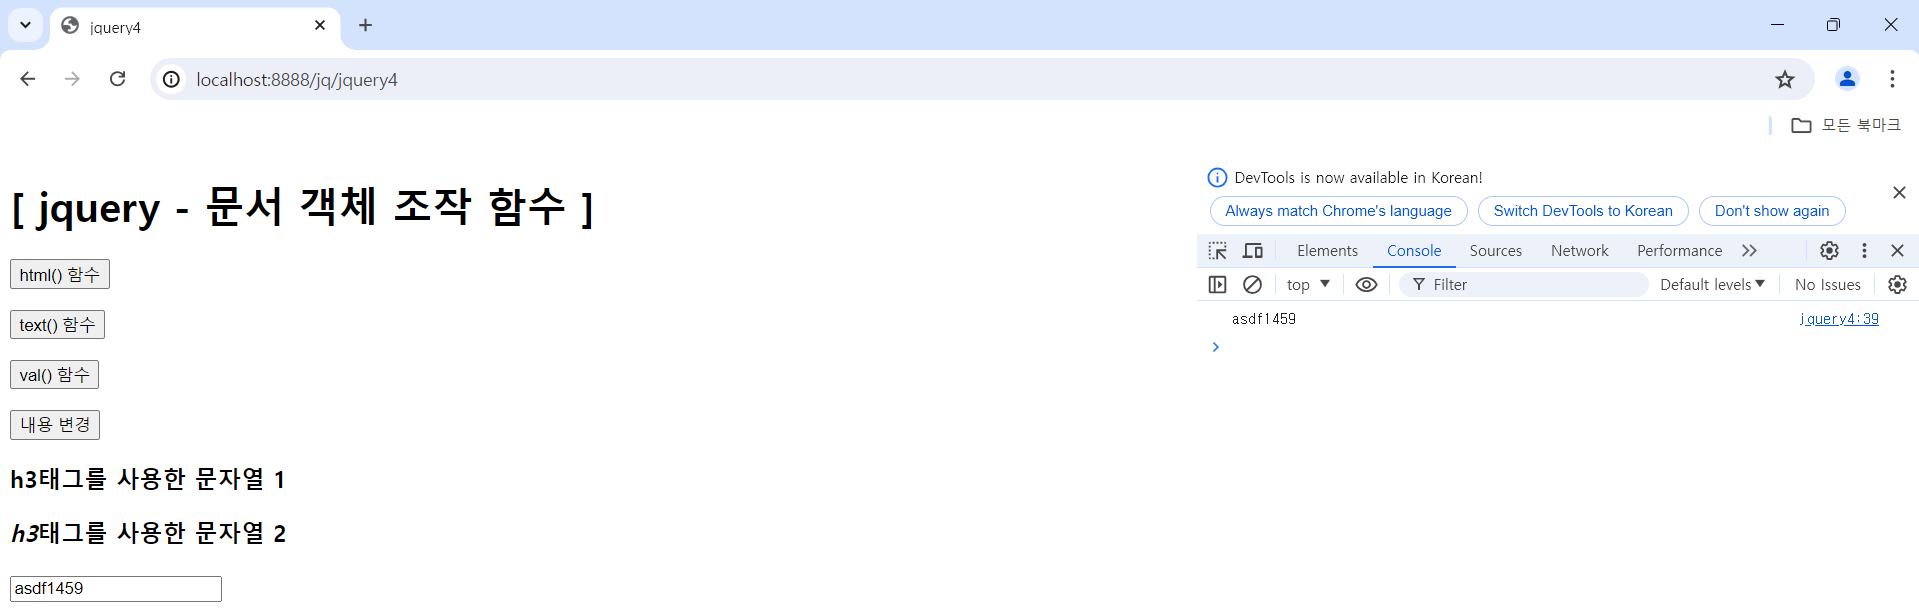
function test3() {
let s = $("#text1").val();
console.log(s);
};
function test4() {
let s = "<p style='color:red;'>새로운 내용</p>";
$("#text1").val(s);
// html() : html 태그를 인식하기 때문에 위의 속성이 적용된 결과가 화면에 출력됨
// $("#div1").html(s);
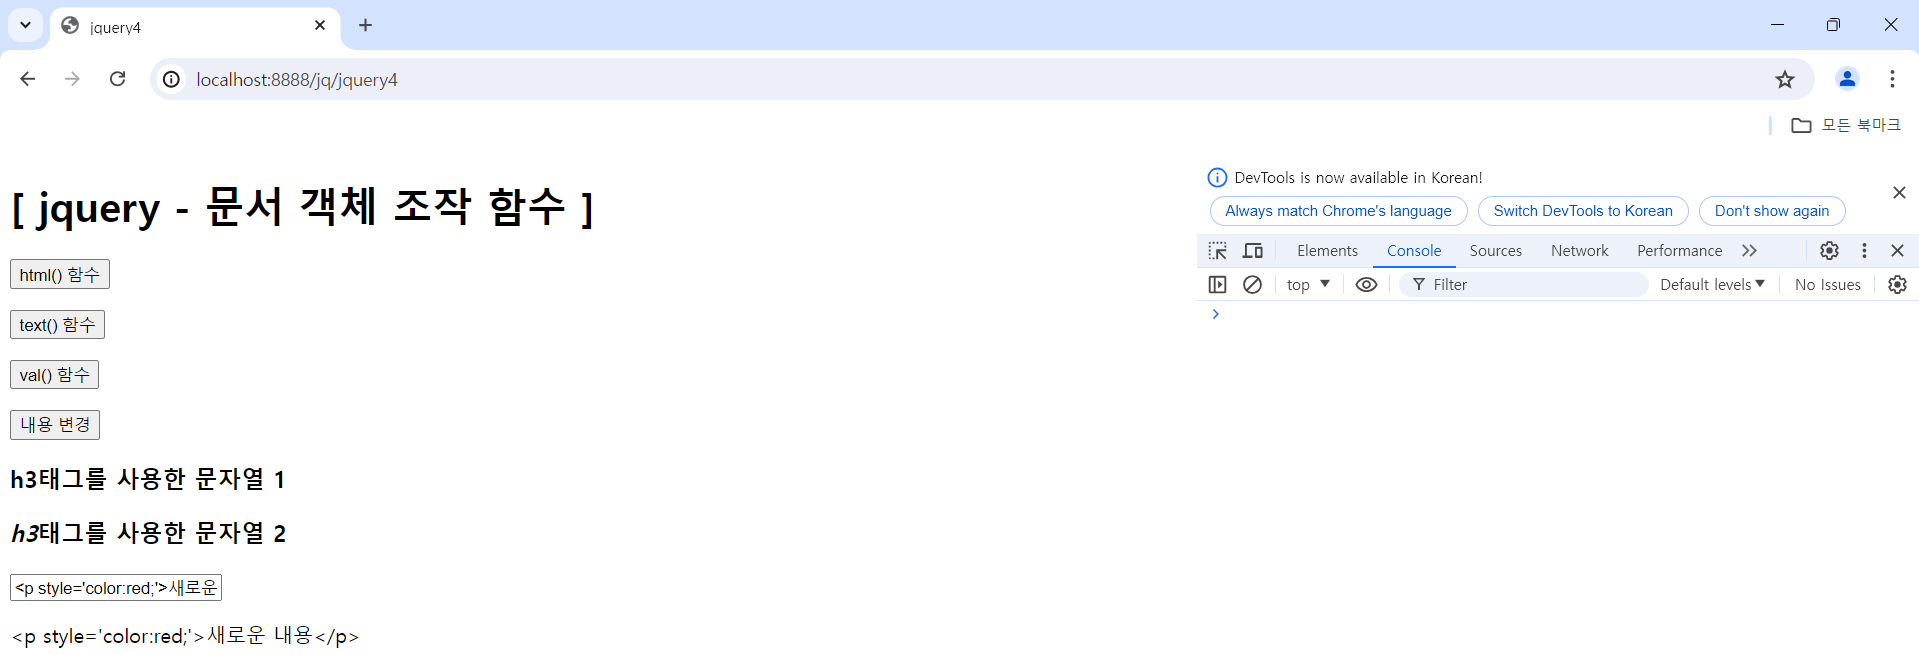
// text() : 텍스트로 인식하기 때문에 위의 속성이 적용되지 않은 단지 텍스트 형태로 결과가 화면에 출력됨
$("#div1").text(s);
};
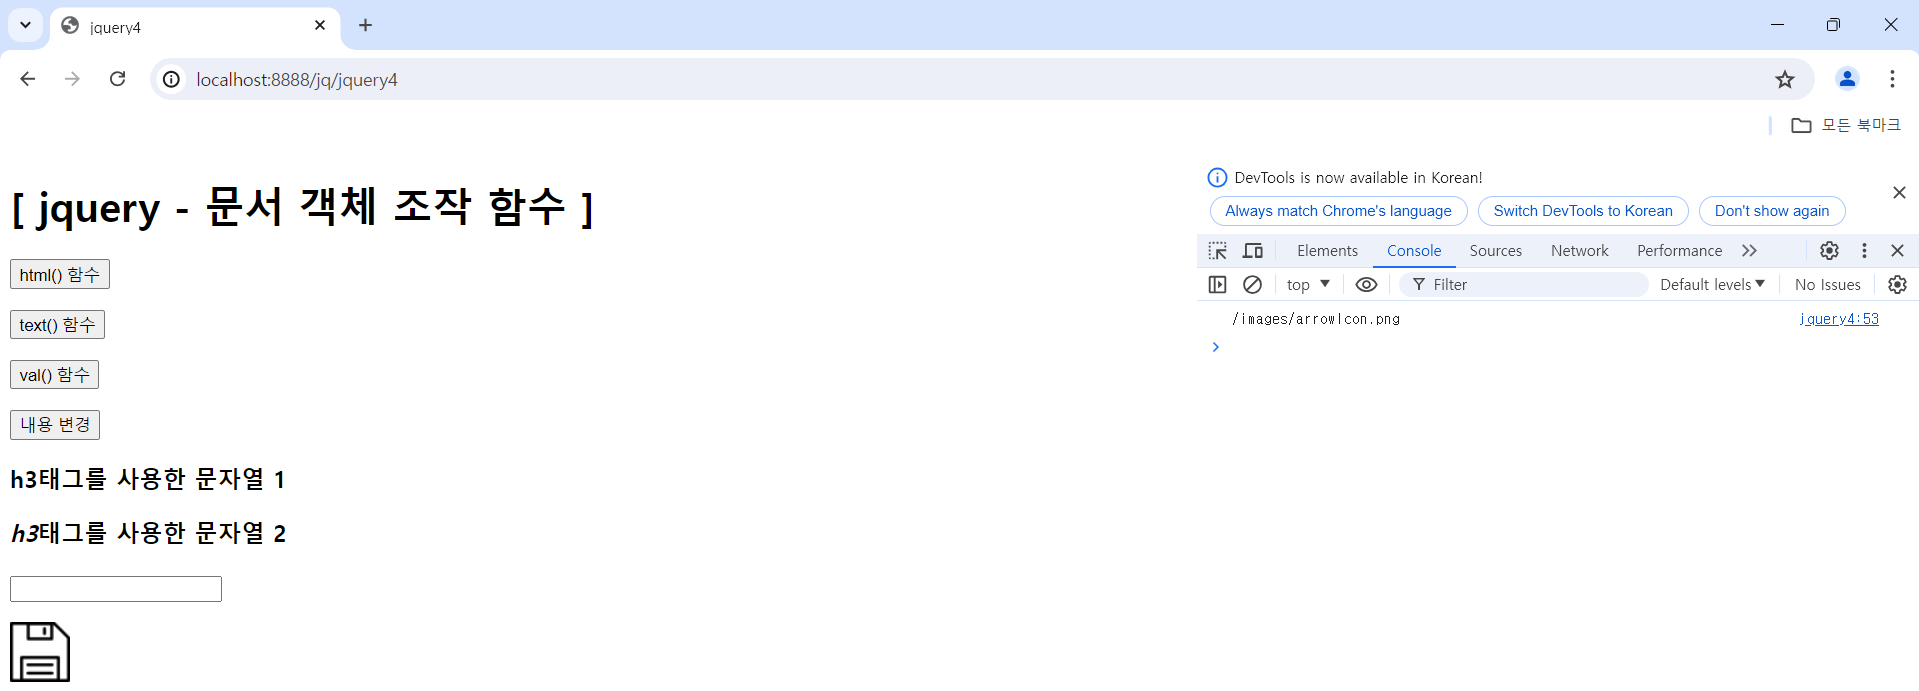
function test5() {
console.log($(this).attr("src"));
$(this).attr("src", "/images/saveIcon.png")
};
let images = [
"/images/saveIcon.png",
"/images/exampleIcon.png",
"/images/arrowIcon.png"
];
let index = 1;
function test6() {
$(this)
.css("opacity", "0")
.stop()
.attr("src", images[index])
.animate({ opacity: 1 }, 1000);
index++;
if (index >= images.length) {
index = 0;
}
};
let index2 = 2;
function test7() {
$("#img3")
.css("opacity", "0")
.stop()
.attr("src", images[index2])
.animate({ opacity: 1 }, 100);
index2++;
if (index2 >= images.length) {
index2 = 0;
}
};
</script>
</head>
<body>
<h1>[ jquery - 문서 객체 조작 함수 ]</h1>
<p>
<button id="bt1">html() 함수</button>
</p>
<p>
<button id="bt2">text() 함수</button>
</p>
<p>
<button id="bt3">val() 함수</button>
</p>
<p>
<button id="bt4">내용 변경</button>
</p>
<h3><b>h3</b>태그를 사용한 문자열 1</h3>
<h3><i>h3</i>태그를 사용한 문자열 2</h3>
<p>
<input type="text" id="text1">
</p>
<div id="div1"></div>
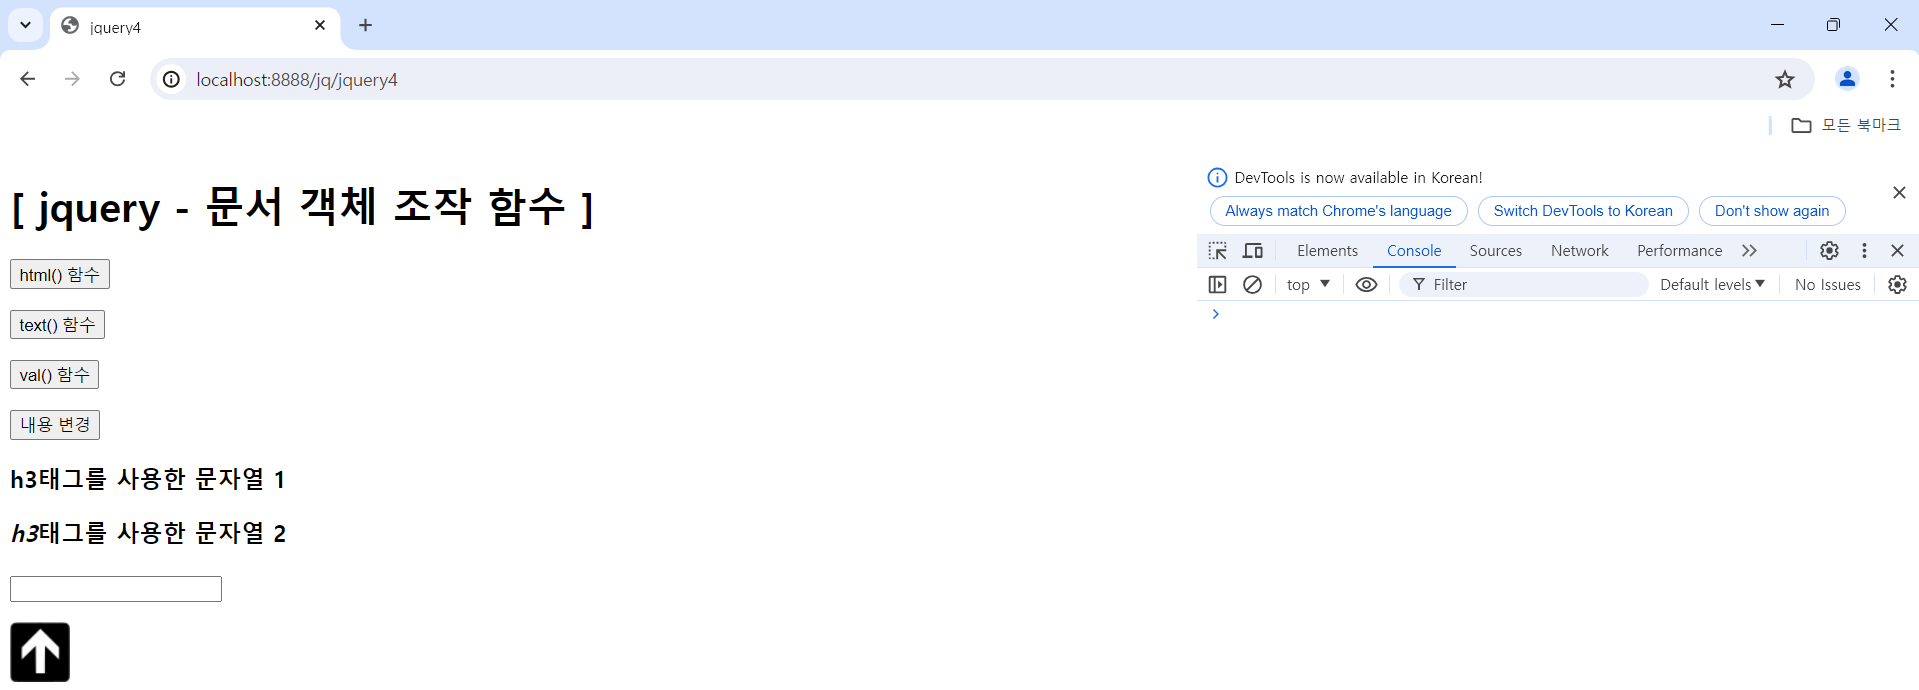
<!-- 클릭하면 src 속성을 변경해서 다른 이미지로 교체 -->
<p>
<img src="/images/arrowIcon.png" id="img1">
</p>
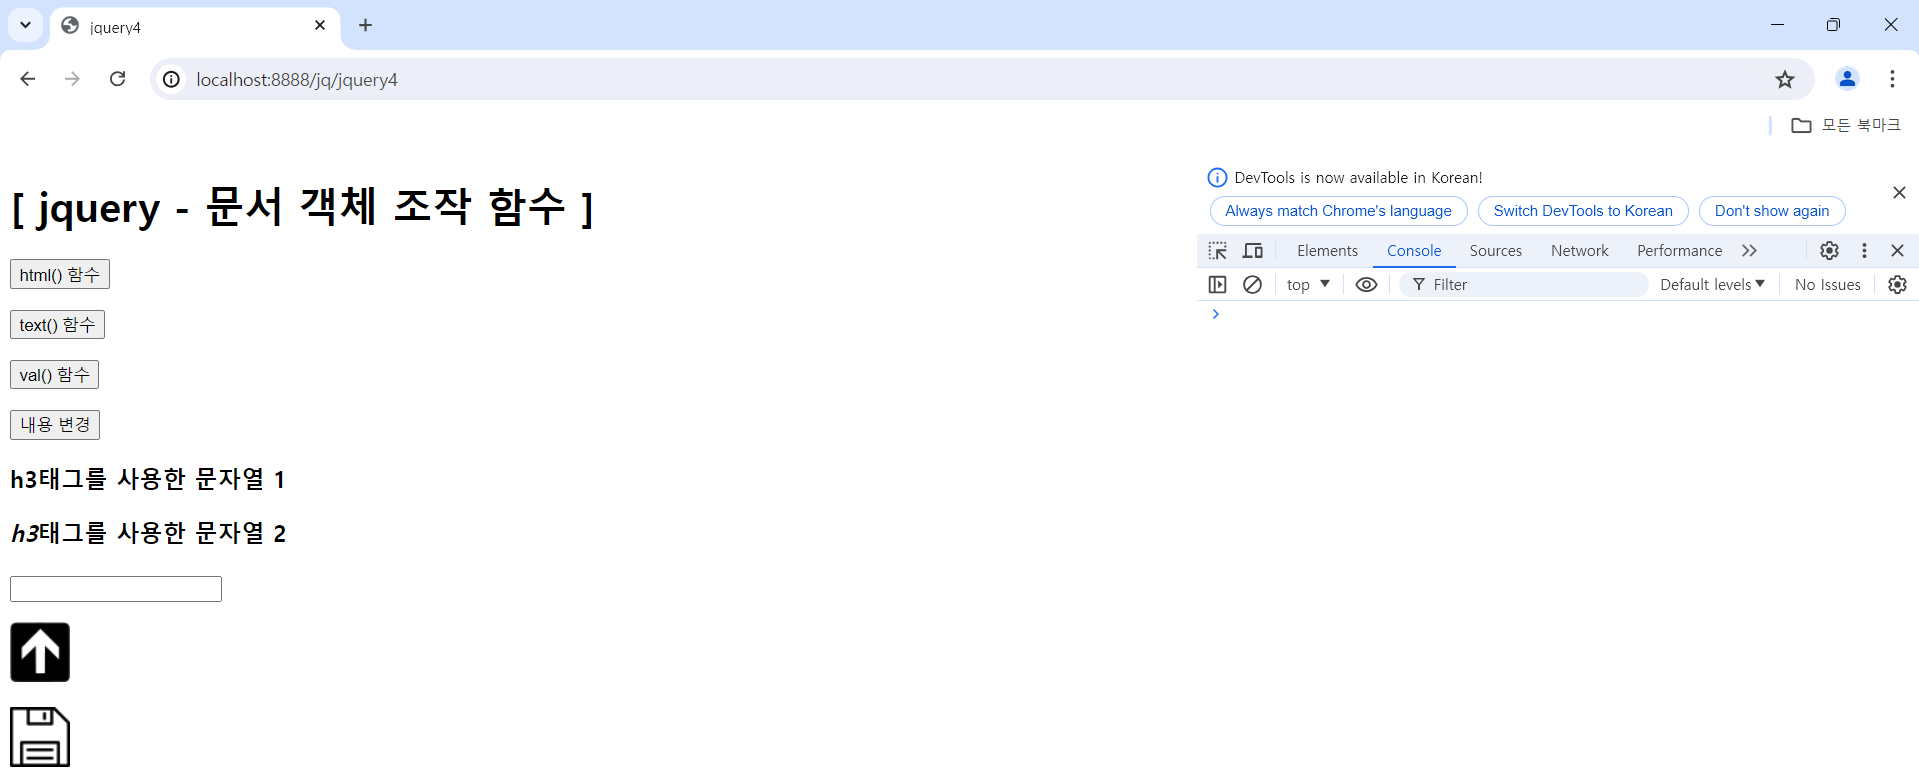
<!-- 클릭할 때마다 다른 이미지로 교체 -->
<p>
<img src="/images/saveIcon.png" id="img2">
</p>
<!-- 일정 시간마다 다른 이미지로 교체 -->
<p>
<img src="/images/exampleIcon.png" id="img3">
</p>
</body>
</html>
(2) 결과 화면
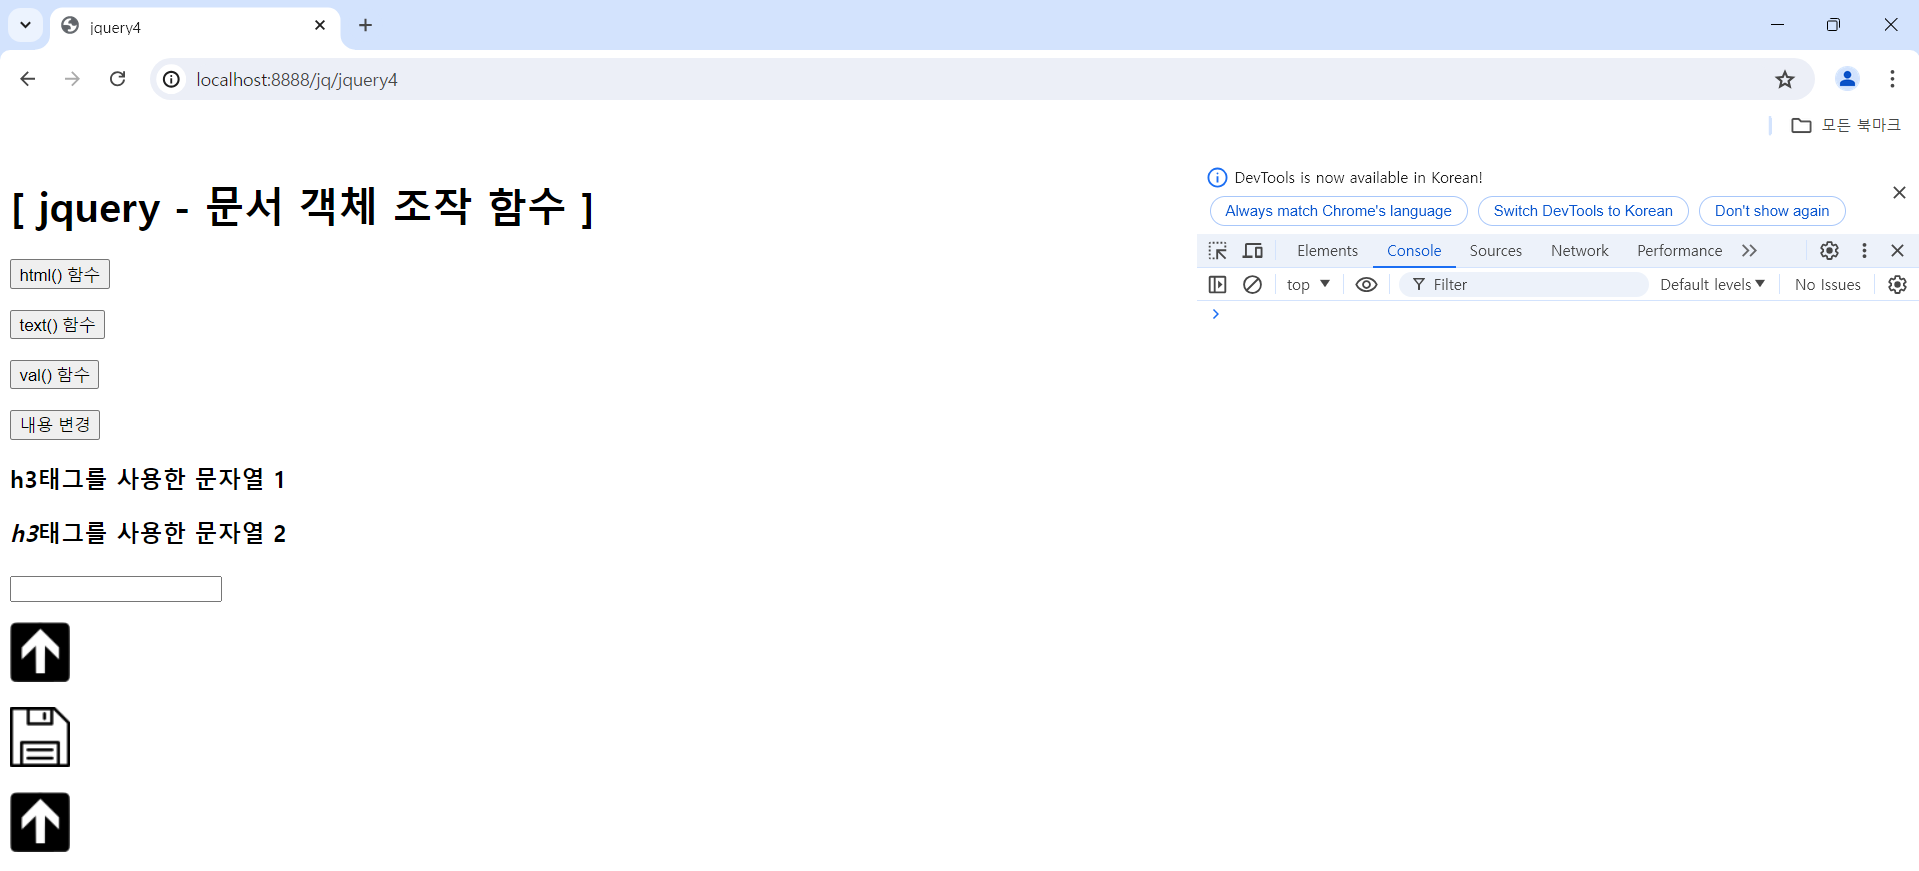
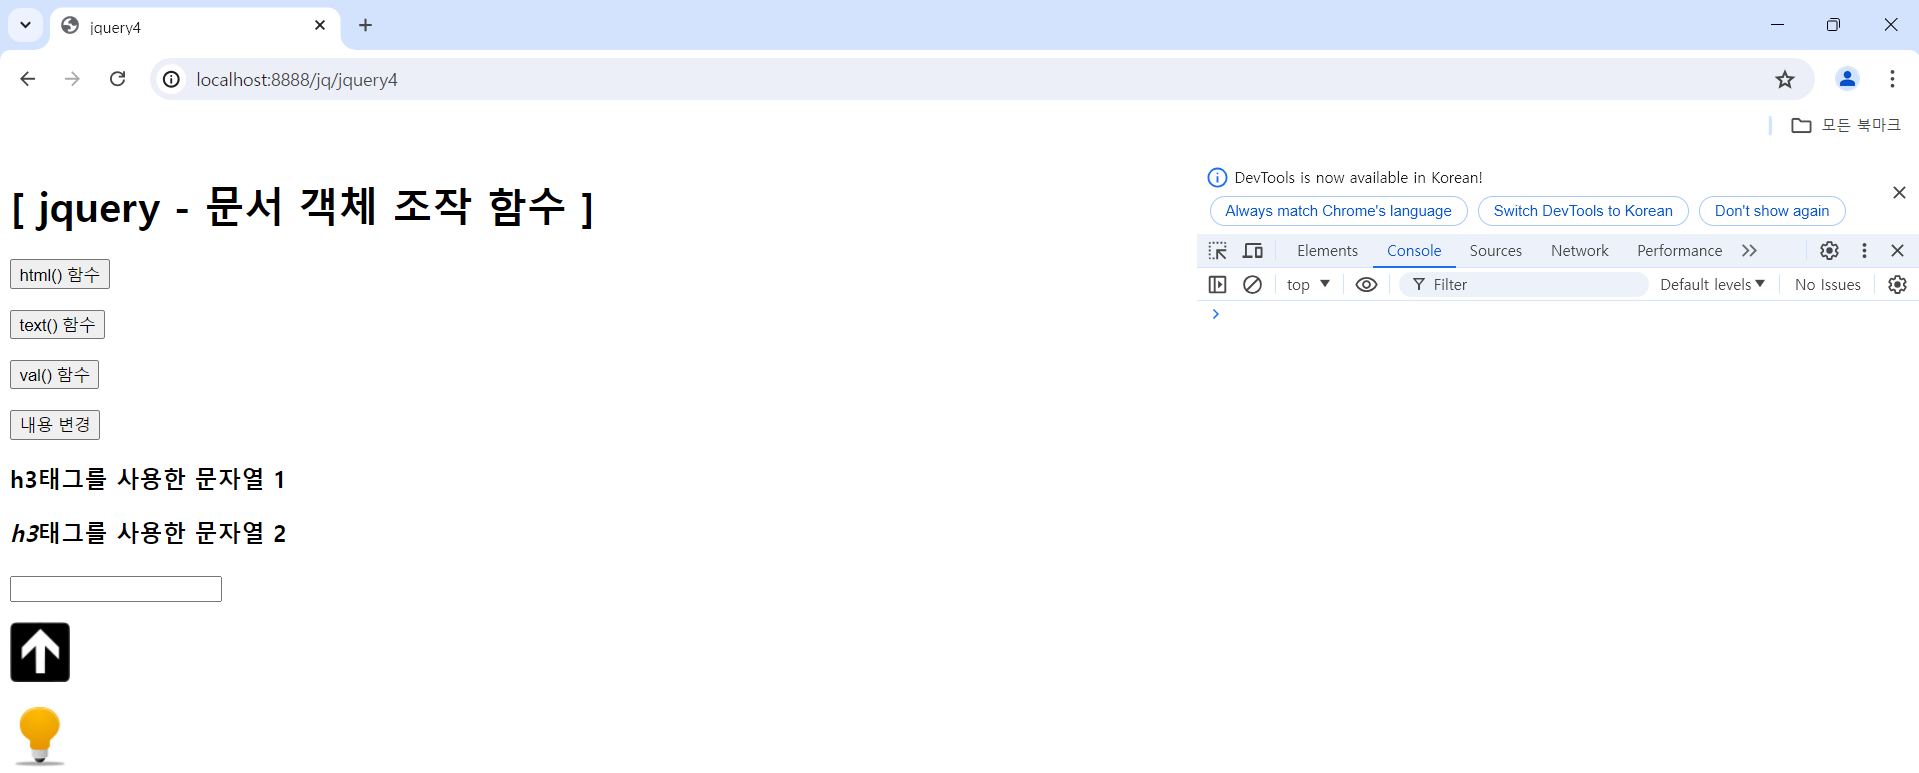
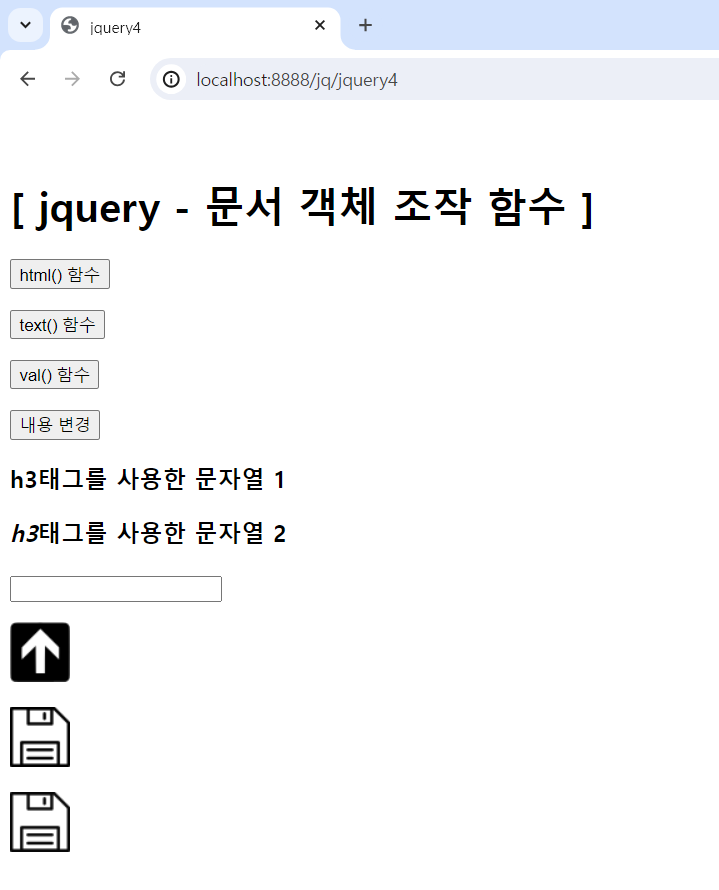
첫 접속 화면
"html() 함수" 버튼 클릭 시 화면
"text() 함수" 버튼 클릭 시 화면
아래 Input Box에 값을 입력하고 나서 "val() 함수" 버튼 클릭 시 화면
"내용 변경" 버튼 클릭 시 화면
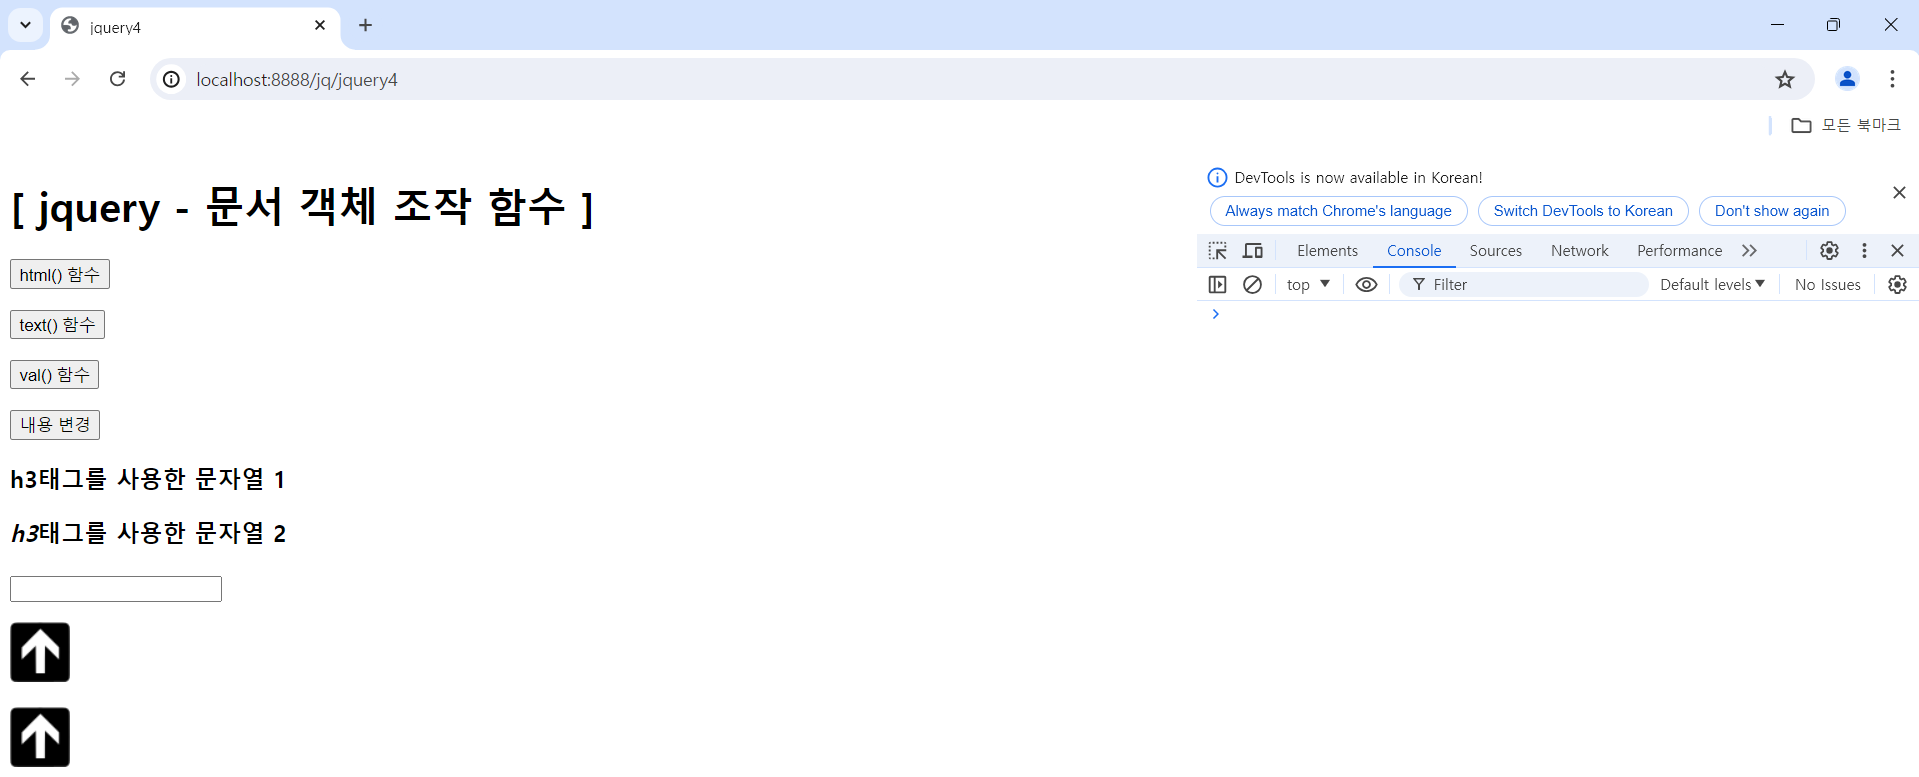
"화살표 이미지" 클릭 전/후 화면
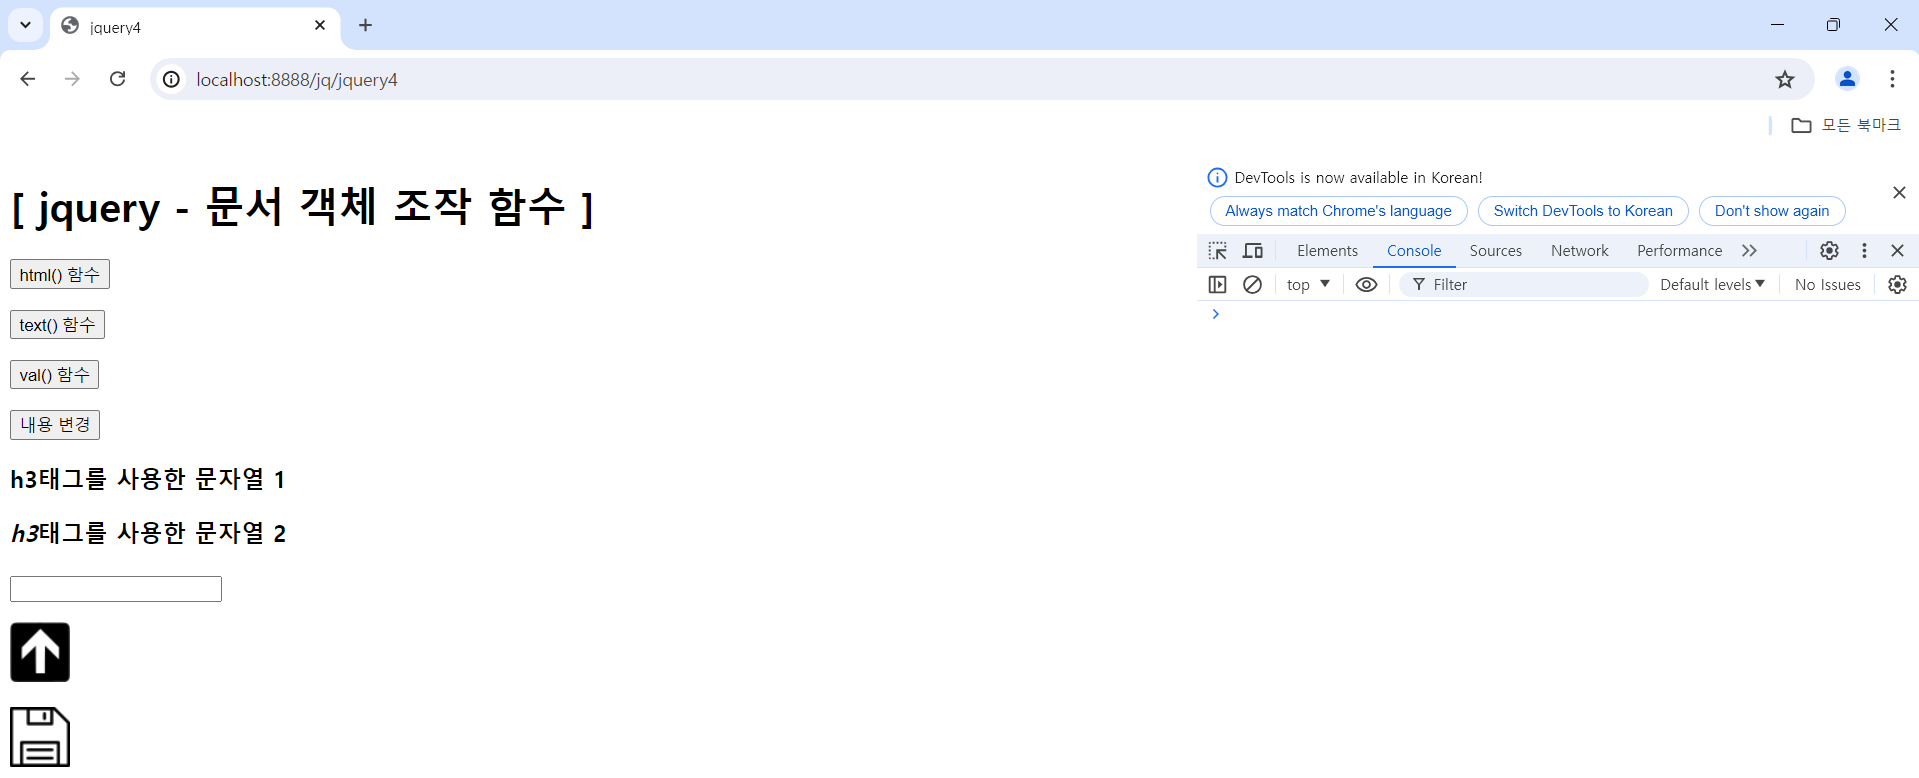
"Save 이미지" 클릭 전/후 화면 : 클릭하면 이미지(3개)가 계속 바뀜
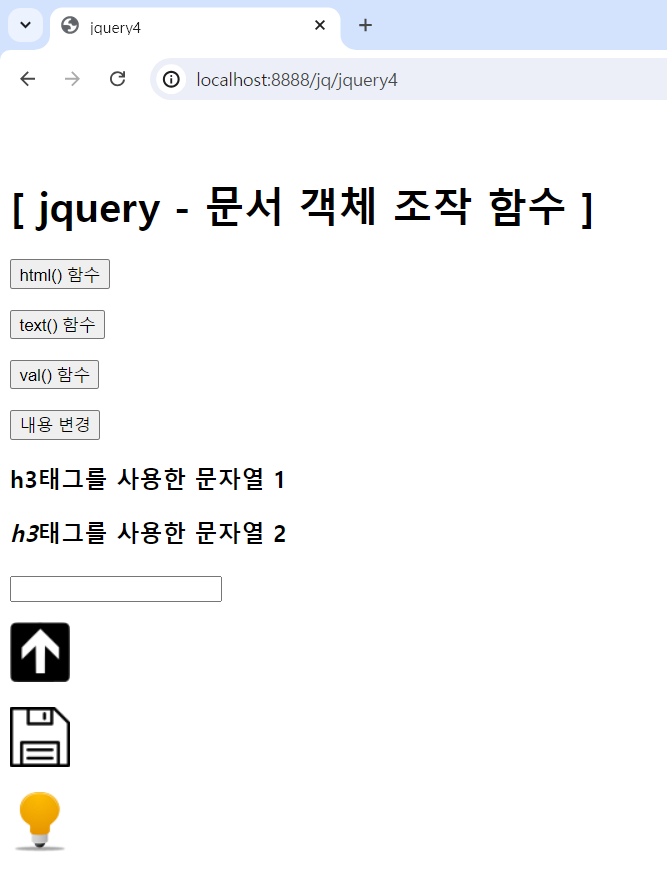
"이미지" 자동 변환 화면 : 페이지 로딩 시 자동으로 이미지(3개)가 일정 시간 간격(0.3초)으로 계속 바뀜
'JQuery' 카테고리의 다른 글
| JQuery(4) - 복습(선택자, 이벤트), 추가 정리사항 (0) | 2024.07.15 |
|---|---|
| JQuery(3) - 이벤트, 애니메이션 효과, 예제(버튼 선택에 따른 링크 이동, 텍스트 타이핑 커서 구현) (0) | 2024.06.17 |
| JQuery(2) - 선택자, 배열 및 함수, 문서 객체 (0) | 2024.06.14 |
| JQuery(1) - 기본 개념 (0) | 2024.06.14 |


